In this video tutorial by gregvancom, we are going to learn how to disassemble and reassemble a bathroom drain trap. The drain trap is an important component in keeping sewer gases from entering our homes and causing unpleasant odors. The video starts off by explaining the tools needed for the job, which are mostly just our hands, but we might also need a wrench and a towel. The narrator then demonstrates how to loosen the trap using our hands or a wrench, and warns against applying too much pressure to avoid damaging the components. He emphasizes the importance of not pouring the trap contents into the sink, as it can create a mess, and advises pouring it down the bathtub or toilet drain instead. The narrator also gives tips on cleaning the components, such as removing any debris or stains, and suggests using a chemical cleaner like CLR for tougher calcium deposits. Finally, he shows how to reassemble the trap and tighten it by hand, double-checking for any leaks and ensuring a job well done.
Tools needed
To take apart and put back together a bathroom drain trap, you will need a few tools. First and foremost, you will need your hands. Most of the time, that’s all you need to loosen the trap. However, you might also need a pliers or a wrench, especially if the trap is difficult to loosen by hand. Finally, it’s a good idea to have a towel on hand to catch any water that may come out during the process.
Purpose of the drain trap
The drain trap in a bathroom serves two important purposes. First, it prevents sewer gases from entering the bathroom. Without the trap, unpleasant smells from the sewer pipes could make their way back into your bathroom. The water inside the trap acts as a barrier, preventing those gases from escaping. Second, the drain trap helps to keep the drain clear and functioning properly. It catches debris and prevents clogs from forming further down the line.

Preparation
Before you start taking apart the drain trap, it’s important to do a few things to prepare. First, place a towel underneath the drain to catch any water that may come out during the process. This will help to protect your floor from getting wet. Additionally, make sure that the water is turned off before you begin. You don’t want any water flowing while you’re trying to work on the trap.
Loosening the trap
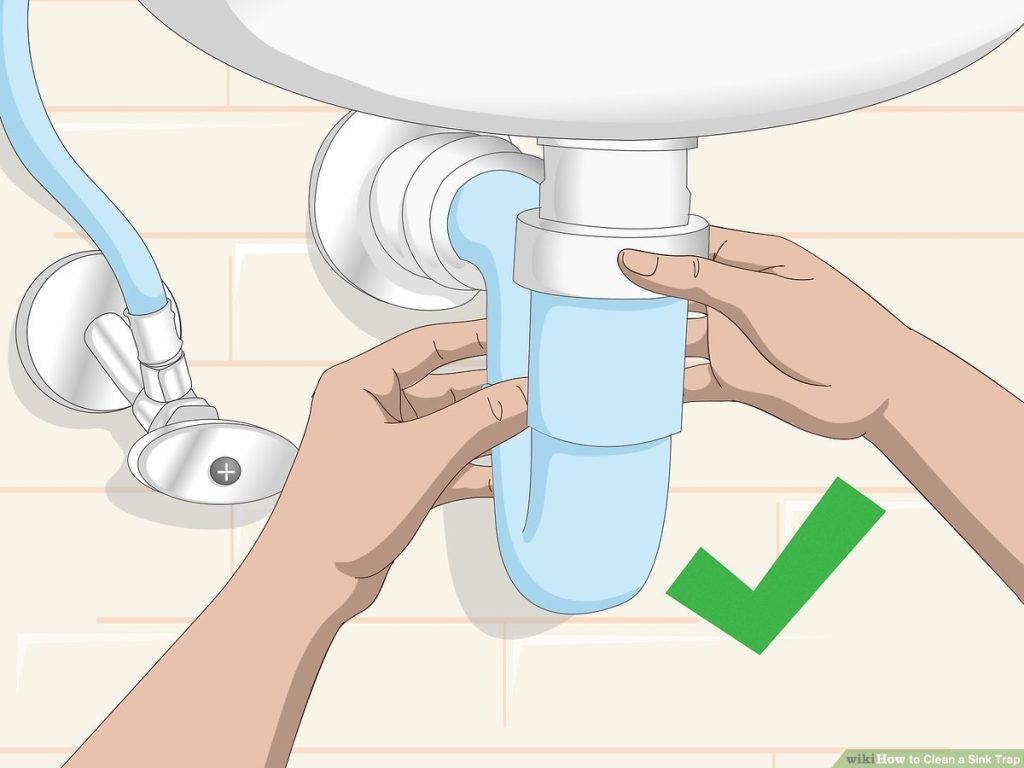
To start taking apart the drain trap, first try to loosen it by hand. In many cases, this will be sufficient to remove the trap. However, if the trap is stubborn and difficult to loosen, you can use pliers or a wrench for some extra leverage. It’s important to be gentle when using these tools, as applying too much pressure can damage the trap. Remember, everything is designed to be hand-tightened, so excessive force is not necessary.

Removing the trap
Once the trap is loosened, allow the water to drain out. It’s important to note that you should not pour the water down the sink. Doing so would defeat the purpose of having a trap and cause a mess. Instead, dispose of the water in a toilet or bathtub drain. Be careful when handling the trap, as it may still contain some water.
Cleaning the trap
After removing the trap, take the time to inspect it for any signs of leaks. Look for any cracks or damage that may need attention. This is also a good opportunity to clean off any debris or stains that may have accumulated in the trap. You can use CLR or a similar chemical cleaner if necessary. Scrub the trap with a brush or use soap and water to ensure that it is thoroughly cleaned.

Inspecting other components
While you have the trap removed, it’s a good idea to inspect the surrounding area for any spots or stains. Sometimes, water can leak from the trap and leave marks on the surrounding materials. Clean off any plastic collars or additional parts that may have accumulated dirt or grime. This will help to ensure that everything is in good condition and functioning properly.
Reassembling the trap
Once the trap and surrounding components are clean, it’s time to put everything back together. Make sure that all parts are clean and free of debris before reassembling. Begin by tightly screwing the pieces back together. It’s important to ensure a secure fit to prevent any leaks.

Adjusting the tightness
After reassembling the trap, it’s a good idea to check for leaks by turning on the water. Start with a hand-tightened fit and observe if there are any signs of leaking. If necessary, adjust the tightness slightly until the trap is secure and there are no leaks. It’s important to find the right balance, as tightening too much can cause damage and still result in leaks.
Conclusion
Taking apart and reassembling a bathroom drain trap is a relatively simple task that can help keep your drains clear and prevent unpleasant smells from entering your bathroom. By following these tips, you can easily clean and maintain your drain trap for optimal functionality. Remember to be gentle when using tools, inspect all components for signs of damage, and adjust the tightness to prevent any leaks. With a little bit of effort, you can ensure that your bathroom drains remain in good working order.


