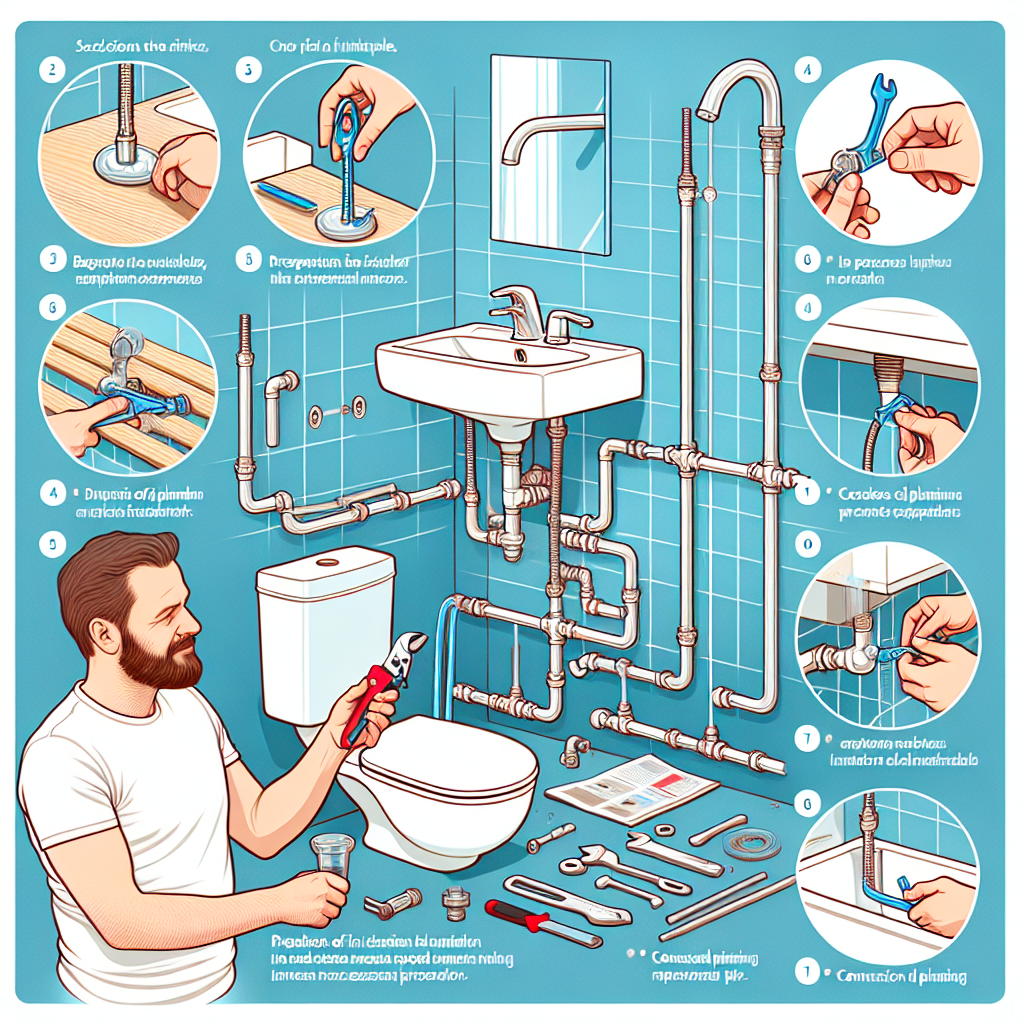
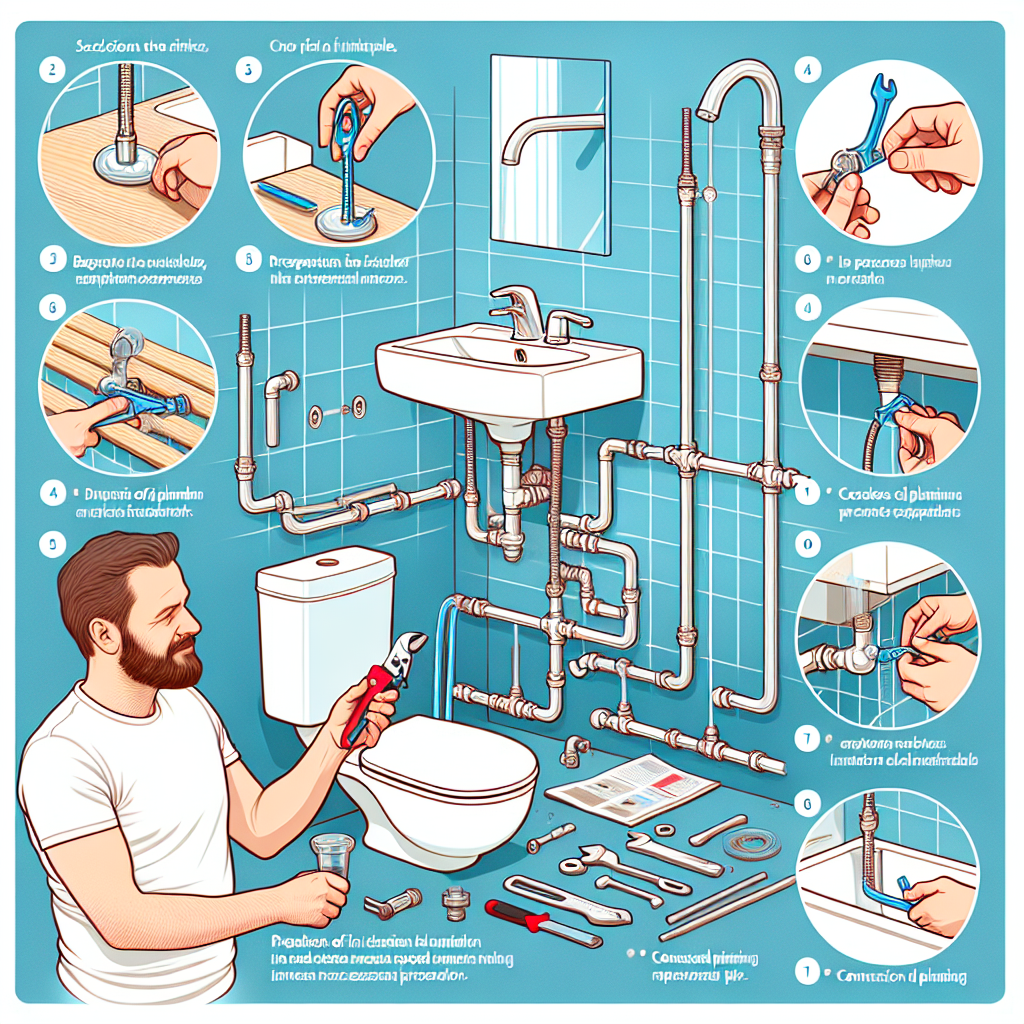
So you’ve decided to take on the task of installing a basic plumbing fixture? Whether it’s a new faucet, showerhead, or toilet, this article will guide you through the process step by step. No need to worry if you’ve never tackled a plumbing project before, because we’ve got you covered. By the end of this article, you’ll have all the knowledge and confidence you need to successfully install that plumbing fixture and enjoy the satisfaction of a job well done. So let’s roll up our sleeves and get started!

Choose the Location
Evaluate the Space
When installing a basic plumbing fixture, the first step is to evaluate the space where you plan to install it. Consider the overall layout of the room and visualize where the fixture will fit best. Take into account the existing plumbing connections in that area and ensure there is enough space for the fixture to be properly installed. It’s important to choose a location that is convenient and functional for your needs.
Consider Accessibility
Accessibility is another crucial factor to consider when choosing the location for your plumbing fixture. Ensure that the fixture is easily accessible and does not hinder the movement or usability of the surrounding area. For example, a bathroom sink should be within reach of the countertop and should not obstruct the use of other bathroom amenities. Keep in mind the needs of all users, including children, elderly individuals, and individuals with disabilities, when determining the placement of the fixture.
Check for Existing Plumbing
Before proceeding with the installation, it’s essential to check for existing plumbing connections in the chosen location. Ensure that there are water supply lines and drain pipes nearby that can be properly connected to the new fixture. If there are no existing plumbing connections, you may need to consult with a professional plumber to determine the feasibility of installing the fixture in that particular location. It’s important to have the necessary plumbing infrastructure in place to avoid any complications during the installation process.
Prepare the Area
Shut Off the Water Supply
Before you begin any plumbing work, it is crucial to shut off the water supply to the area where you will be installing the fixture. This will prevent any water from flowing into the pipes and causing leaks or flooding during the installation process. Locate the main water shut-off valve for your property and turn it off. Make sure to inform other occupants of the property about the water shutdown to avoid any inconvenience.
Clear the Workspace
To ensure a smooth installation process, it is important to clear the workspace of any obstacles or clutter. Remove any items or furniture that may be in the way and create a clear area for you to work. This will provide you with enough space to maneuver and properly install the plumbing fixture without any hindrances. It’s also a good idea to protect the nearby surfaces by placing a drop cloth or plastic sheeting to catch any debris or water that may be generated during the installation process.
Measure and Mark
Accurate measurements are crucial when installing a plumbing fixture to ensure proper fit and alignment. Use a tape measure to measure the dimensions of both the fixture and the installation area. Once you have the measurements, use a pencil or marker to mark the exact location where the fixture will be installed. Double-check the measurements and ensure that the marking is level and aligned properly. This will serve as a guide during the installation process and help you achieve a professional-looking result.
Gather the Materials
Plumbing Fixture
Before beginning the installation process, make sure you have the plumbing fixture that you plan to install. This can include items such as a sink, faucet, showerhead, or toilet. Ensure that the fixture is of the correct size and type for your intended installation location to avoid any compatibility issues.
Plumbing Tape or Compound
Plumbing tape or compound is essential for ensuring watertight connections between different plumbing components. Choose the appropriate type of sealant for your intended application, whether it’s tape or compound. This will help prevent leaks and ensure the longevity of your plumbing installation.
Plumbing Wrenches
Plumbing wrenches are specialized tools designed to tighten or loosen plumbing connections. Depending on the type of connections you will be working with, you may need adjustable wrenches, pipe wrenches, or basin wrenches. Having the necessary plumbing wrenches on hand will make the installation process much easier and more efficient.
Plumber’s Putty
Plumber’s putty is a versatile and essential material used for creating watertight seals around plumbing fixtures. It is commonly used for sink drains, faucets, and other plumbing connections. Make sure to have plumber’s putty available to properly seal the joints and prevent any water leaks.
Plumbing Seals or Gaskets
In addition to plumber’s putty, you may also need plumbing seals or gaskets, depending on the specific plumbing fixture you are installing. These seals and gaskets provide additional protection against leaks and help ensure a secure connection between different plumbing components. Check the manufacturer’s instructions for the recommended seals or gaskets for your particular fixture.
Threaded Adapters or Fittings
Threaded adapters or fittings may be required if you are connecting different plumbing components with varying thread sizes or types. These adapters or fittings act as connectors and allow you to join different pieces together securely. It’s important to have the correct adapters or fittings on hand to ensure a proper and tight connection between the plumbing fixtures.
Teflon Tape
Teflon tape, also known as plumber’s tape, is a thin, white tape that is commonly used to create a watertight seal on threaded plumbing connections. It is applied around the threads of pipes and fittings to prevent leaks. Having Teflon tape available will help ensure a secure and leak-free installation.
Pipe Cutter or Saw
If your plumbing installation requires cutting pipes to the desired length, you will need a pipe cutter or saw. These tools are used to make precise cuts in the pipes to ensure proper fit and alignment. Choose the appropriate tool based on the type of pipes you will be working with, such as copper, PVC, or galvanized steel.
Tubing or Supply Lines
Tubing or supply lines are used to connect the plumbing fixture to the water supply lines. These flexible hoses come in various lengths and sizes to accommodate different installations. Ensure that you have the correct type and length of tubing or supply lines for your specific plumbing fixture.
Plumbing Straps or Clamps
Plumbing straps or clamps are used to secure the plumbing fixture in place and prevent movement or shifting. These straps or clamps are typically made of metal or plastic and come in different sizes to accommodate various fixture types. Having the necessary plumbing straps or clamps will ensure a stable and secure installation.
Read the Instructions
Refer to Manufacturer’s Manual
Before starting the installation, always refer to the manufacturer’s manual or instructions that accompany the plumbing fixture. These instructions will provide detailed guidance specific to the particular fixture you are installing. Familiarize yourself with the steps outlined in the manual to ensure a smooth and successful installation.
Familiarize Yourself with Steps
Take the time to familiarize yourself with the general steps involved in installing a plumbing fixture. This will give you a better understanding of the overall process and help you anticipate any challenges or difficulties that may arise. Having a clear understanding of the installation steps will also ensure that you have all the necessary tools and materials ready to complete the installation efficiently.
Install the Plumbing Fixture
Assemble Required Components
Before installing the plumbing fixture, gather all the components and ensure that you have everything you need. This includes the fixture itself, any necessary seals, adapters, or fittings, as well as the required tools and materials. Lay out all the components in a clear and organized manner to make the installation process more streamlined.
Apply Plumber’s Putty or Seals
If your plumbing fixture requires a watertight seal, such as a sink drain or faucet, apply plumber’s putty or the specified seal according to the manufacturer’s instructions. Roll a small amount of plumber’s putty into a thin rope and press it into the desired area, following the instructions provided. This will create a seal between the fixture and the surface it is being installed on.
Connect Water Supply Lines
Next, connect the water supply lines to the plumbing fixture. Ensure that the supply lines are the correct length and size for your installation. Follow the manufacturer’s instructions for properly attaching the supply lines to the fixture. Use the appropriate fittings or adapters, if necessary, to create a secure and leak-free connection.
Tighten Connections
Once the water supply lines are connected, use plumbing wrenches to tighten the connections. Be careful not to overtighten, as this may damage the fittings or cause leaks. Use the appropriate wrench for each connection and make sure they are tightened securely, but with just enough force to create a watertight seal.
Secure the Fixture
After all the necessary connections have been made and tightened, secure the plumbing fixture in place using plumbing straps or clamps. These can be fastened to the surrounding structure or wall to ensure that the fixture remains stable and does not move or shift. Use the appropriate fasteners and follow the manufacturer’s instructions for properly securing the fixture.
Test for Leaks
Turn On the Water Supply
Before testing for leaks, turn on the water supply to the installation area. Slowly open the shut-off valve and allow water to flow into the pipes and through the fixture. Listen and observe for any signs of leaks or drips.
Inspect for Leaks or Drips
Inspect the entire installation area carefully for any signs of leaks or drips. Check the connections, joints, and seals to ensure that they are all properly sealed and tightened. If you notice any leaks or drips, it is important to address them immediately before proceeding.
Address any Issues
If you discover any leaks or drips during the testing phase, take the necessary steps to address the issues. This may involve tightening connections, reapplying plumber’s putty or seals, or replacing faulty components. It is important to resolve any issues before proceeding to ensure a properly functioning plumbing fixture.
Check the Functionality
Test Faucet or Valve
Once you have confirmed that there are no leaks or drips, test the functionality of the plumbing fixture itself. Turn on the faucet or valve and ensure that the water flows smoothly and that there are no unusual sounds or issues. Check both hot and cold water settings to ensure proper functionality.
Ensure Proper Drainage
If you have installed a fixture with a drain, such as a sink or bathtub, check that the water drains properly. Fill the fixture with water and observe if it drains efficiently and without any blockages. If there are any issues with drainage, address them promptly to avoid further complications.
Verify Smooth Operation
Lastly, verify that the plumbing fixture operates smoothly and as expected. Check all the handles, knobs, or controls to ensure they function properly. Test any additional features or functionalities of the fixture, such as adjustable spray settings or temperature control. If there are any concerns or malfunctions, consult the manufacturer’s manual or consider seeking professional assistance.
Clean Up
Remove Tools and Debris
After successfully installing the plumbing fixture and confirming its functionality, it’s time to clean up the work area. Remove any tools, equipment, or debris that may have accumulated during the installation process. Put away any tools and materials properly, ensuring they are safely stored for future use.
Wipe and Dry the Area
Give the installation area a thorough wipe-down to remove any excess water, dust, or dirt. Use a clean cloth or towel to dry the surrounding surfaces. This will help prevent any potential damage, such as staining or buildup, and keep the area clean and presentable.
Dispose of Packaging
Dispose of any packaging materials in an appropriate manner. Recycle or discard cardboard boxes, plastic wrap, and any other packaging materials responsibly. Keeping the workspace clean and clutter-free contributes to a safe and organized environment.
Maintain the Fixture
Regular Cleaning
To ensure the longevity and optimal performance of your plumbing fixture, it is important to establish a regular cleaning routine. Follow the manufacturer’s recommendations for cleaning and maintenance to avoid any damage or deterioration. Regularly clean the fixtures using appropriate cleaning agents or solutions and avoid using abrasive materials that may scratch or damage the surfaces.
Inspect for Wear or Damage
Periodically inspect the plumbing fixture for any signs of wear, damage, or deterioration. Check the seals, fittings, and connections to ensure they are still in good condition and functioning properly. Address any issues or concerns promptly to prevent further damage or potential leaks.
Address Any Problems
If you encounter any problems with your plumbing fixture, such as leaks, drips, or malfunctioning components, it is important to address them promptly. Depending on the complexity of the issue, you may be able to troubleshoot and resolve it yourself. However, if you are uncertain or uncomfortable with making repairs, it is recommended to seek professional assistance. Ignoring or neglecting plumbing problems can lead to more significant issues and potentially costly repairs down the line.
Refer to Professionals
For Complex Installations
Certain plumbing installations may be more complex and require the expertise of a professional plumber. If you are tackling a complex project, such as a whole bathroom renovation or a major plumbing system overhaul, it is advisable to seek professional assistance. Professional plumbers have the experience, knowledge, and tools needed to handle complex installations safely and efficiently.
When Uncertain or Uncomfortable
If you are uncertain or uncomfortable with performing the plumbing fixture installation yourself, it is best to consult with a professional. Plumbing can be complex, and mistakes during installation can lead to costly repairs or damage. It’s important to prioritize your safety and the integrity of your plumbing system by seeking professional advice and assistance when needed.
In Case of Difficulties
In the event that you encounter difficulties or challenges during the installation process, do not hesitate to reach out to a professional plumber for guidance. Whether it’s a specific technique or a troubleshooting step, professional plumbers can provide the expertise and support you need to overcome any difficulties effectively. Don’t hesitate to ask for help to ensure a successful installation.

