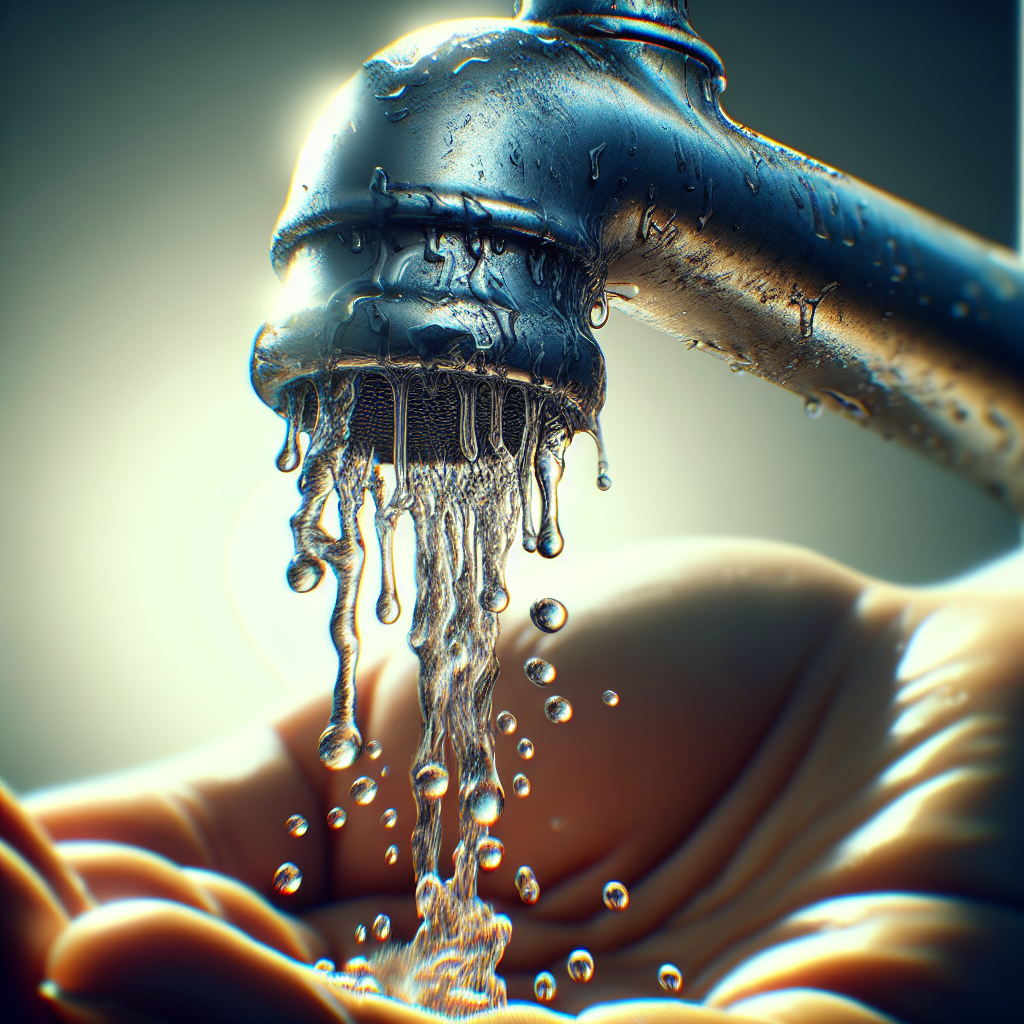
Let’s face it, a leaky faucet can be quite a nuisance. The constant dripping not only wastes water but also adds to your frustration. But fear not, because in this article, you will discover how you can easily fix a leaky faucet yourself. With just a few simple steps and some basic tools, you’ll be able to put an end to that incessant dripping and regain peace in your kitchen or bathroom. So grab your toolbox and get ready to become a DIY plumbing expert!
Identify the type of faucet
When it comes to fixing a leaky faucet, the first step is to identify the type of faucet you have. There are four common types of faucets: compression faucets, ball faucets, cartridge faucets, and ceramic disc faucets.
Compression faucets
Compression faucets are the most traditional type of faucet and are often found in older homes. These faucets have separate hot and cold handles that you turn to control the water flow. If your compression faucet is leaking, it is likely due to a worn-out washer.
Ball faucets
Ball faucets are commonly used in kitchens and have a single handle that controls both the temperature and flow of water. Inside the faucet, there is a ball-like mechanism with multiple small chambers and springs. If your ball faucet is leaking, the culprit is usually a worn-out or damaged rubber seal inside the mechanism.
Cartridge faucets
Cartridge faucets feature a single handle that moves up and down to adjust the water temperature and side-to-side to control the flow. These faucets use a cartridge instead of a traditional valve assembly. When a cartridge faucet leaks, it is often caused by a damaged cartridge or worn-out O-rings.
Ceramic disc faucets
Ceramic disc faucets are known for their durability and longevity. They have a single lever that you rotate to adjust both temperature and flow. Inside the faucet, there are two ceramic discs that control the water flow. If your ceramic disc faucet is leaking, there may be debris caught between the discs or the discs themselves may be damaged.
Gather necessary tools and materials
Once you have identified the type of faucet you have, it’s time to gather the necessary tools and materials to fix the leak. Here’s a list of things you’ll need:
Adjustable wrench
An adjustable wrench will come in handy for loosening and tightening various components of the faucet.
Screwdrivers
Different types of screwdrivers may be needed depending on the specific faucet you have. Make sure you have a set of both flathead and Phillips head screwdrivers.
Plumbing tape
Plumbing tape, also known as Teflon tape, is used to create a watertight seal when reassembling the faucet. It is often needed for the threaded connections.
Replacement parts
Depending on the type and extent of the leak, you may need to replace certain parts of your faucet. This could include washers, O-rings, or even the entire valve stem assembly. Check with your manufacturer or consult a plumbing professional to determine which replacement parts are necessary for your specific faucet.
Turn off the water supply
Before you start disassembling your faucet, it’s crucial to turn off the water supply to prevent any further leakage or water damage. Look for the shut-off valves under the sink and turn them clockwise until they are fully closed. If you can’t locate the shut-off valves, turn off the main water supply to your house.
Close the drain
To avoid losing any small components down the drain while working on your faucet, it’s a good idea to close the drain. You can either plug it with a drain stopper or cover it with a cloth or towel. This will ensure that nothing falls into the drain while you disassemble the faucet.
Disassemble the faucet
Now that you have prepared the necessary tools and turned off the water supply, it’s time to start disassembling the faucet. The process may vary slightly depending on the type of faucet you have, but here are the general steps:
Remove the handle
Start by removing the handle of the faucet. For compression faucets, you may need to remove a decorative cap or cover to access the screw holding the handle in place. Use a screwdriver or Allen wrench to loosen and remove the screw. Once the screw is removed, you should be able to lift off the handle.
For ball, cartridge, and ceramic disc faucets, there may be a set screw on the handle that needs to be loosened with an Allen wrench. After loosening the set screw, you can simply lift the handle off the stem.
Unscrew the valve stem assembly
Underneath the handle, you will find the valve stem assembly. Use an adjustable wrench to unscrew the assembly in a counterclockwise direction. Be cautious not to damage the threads as you remove it. Set the valve stem assembly aside for further inspection.
Inspect the washers and O-rings
Once the valve stem assembly is removed, inspect the washers and O-rings for any signs of wear, damage, or buildup. These components are often the culprit behind a leaky faucet. If you notice any deterioration or deformation, it’s time to replace them.
Replace faulty parts
After identifying the faulty parts, it’s time to replace them with new ones. Here’s how to replace the common components:
Replace washers
For compression faucets, the most common cause of a leak is a worn-out washer. To replace the washer, remove the old one from the valve seat using a screwdriver or needle-nose pliers. Place the new washer in the same position and make sure it fits snugly. Reassemble the faucet by screwing the valve stem assembly back in place.
Replace O-rings
Cartridge and ceramic disc faucets often use O-rings to create a watertight seal. To replace the O-rings, carefully remove the old ones using a flathead screwdriver or a utility knife. Take note of the size and shape of the O-rings to ensure you purchase the correct replacements. Lubricate the new O-rings with plumber’s grease and slide them into place. Reinstall the valve stem assembly.
Replace valve stem assembly
If the washers and O-rings are in good condition but the leak persists, the valve stem assembly may need to be replaced entirely. Consult your faucet’s manufacturer or seek advice from a plumbing professional to ensure you choose the correct assembly. Follow the manufacturer’s instructions to remove the old assembly and install the new one in its place.
Reassemble the faucet
With the faulty components replaced, it’s time to reassemble the faucet. Start by screwing the valve stem assembly back in place, tightening it with an adjustable wrench. Once the assembly is secure, reattach the handle to the faucet. Use a screwdriver or Allen wrench to tighten any necessary screws or set screws.
Turn on the water supply
Now that you have successfully reassembled the faucet, it’s time to turn on the water supply and test for any leaks. Slowly open the shut-off valves or main water supply and let the water flow through the faucet. Check all connections and joints for any signs of leakage.
Check for leaks
After turning on the water supply, thoroughly check the faucet for any remaining leaks. Inspect the handle, spout, and any connections for signs of dripping or seepage. If you notice any leaks, try tightening the connections or replacing any faulty components. It’s essential to ensure your faucet is completely leak-free before considering the job complete.
Final Tips
Fixing a leaky faucet can be a relatively simple and cost-effective DIY project. However, it’s always important to follow the manufacturer’s instructions specific to your faucet model. If you’re unsure about any steps or encounter difficulties, don’t hesitate to seek assistance from a professional plumber.
When working with plumbing fixtures, it’s essential to take precautionary measures to protect yourself and your home. Shut off the water supply, have a well-lit workspace, and wear appropriate protective gear, such as gloves and safety glasses. Additionally, double-check that you have all the necessary tools and replacement parts before starting the repair.
By following these step-by-step instructions and paying attention to the specific details of your faucet, you can fix a leaky faucet yourself and save yourself the expense of hiring a plumber. Happy fixing!