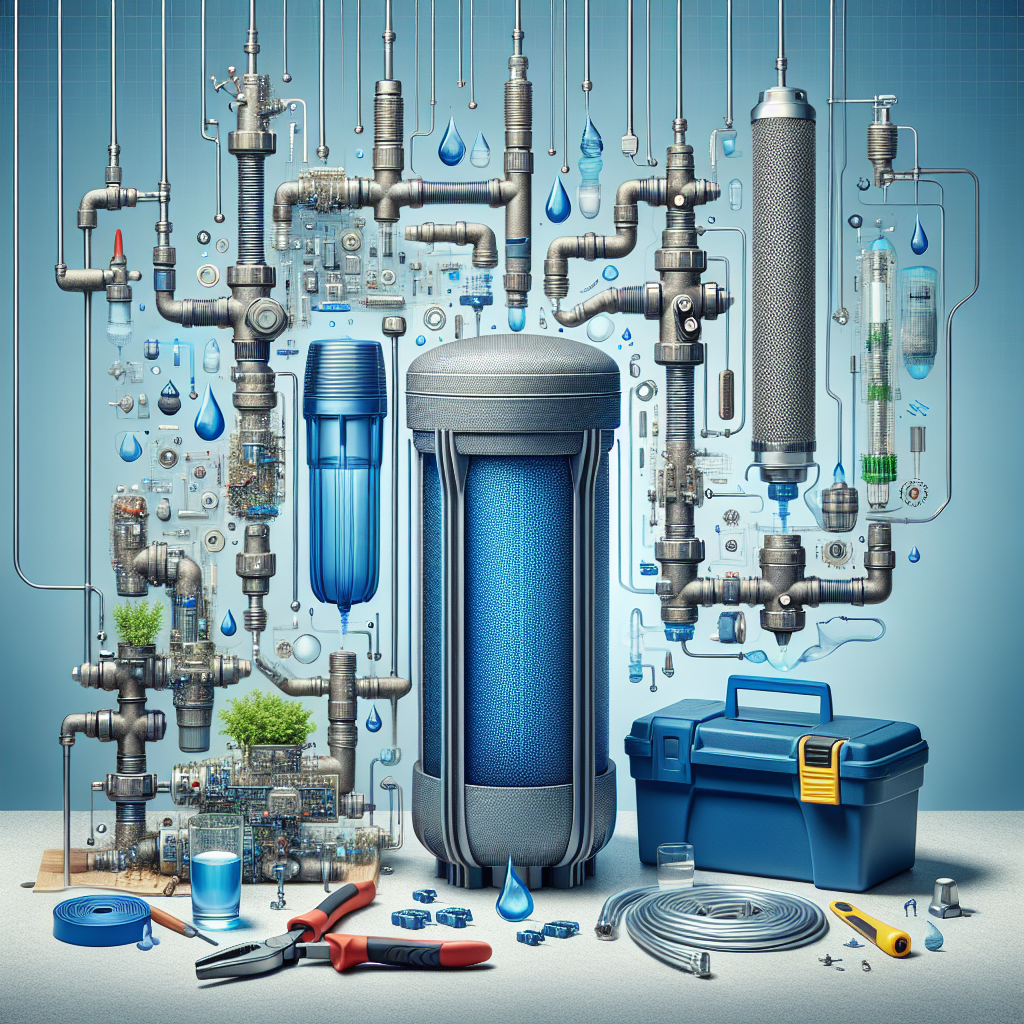
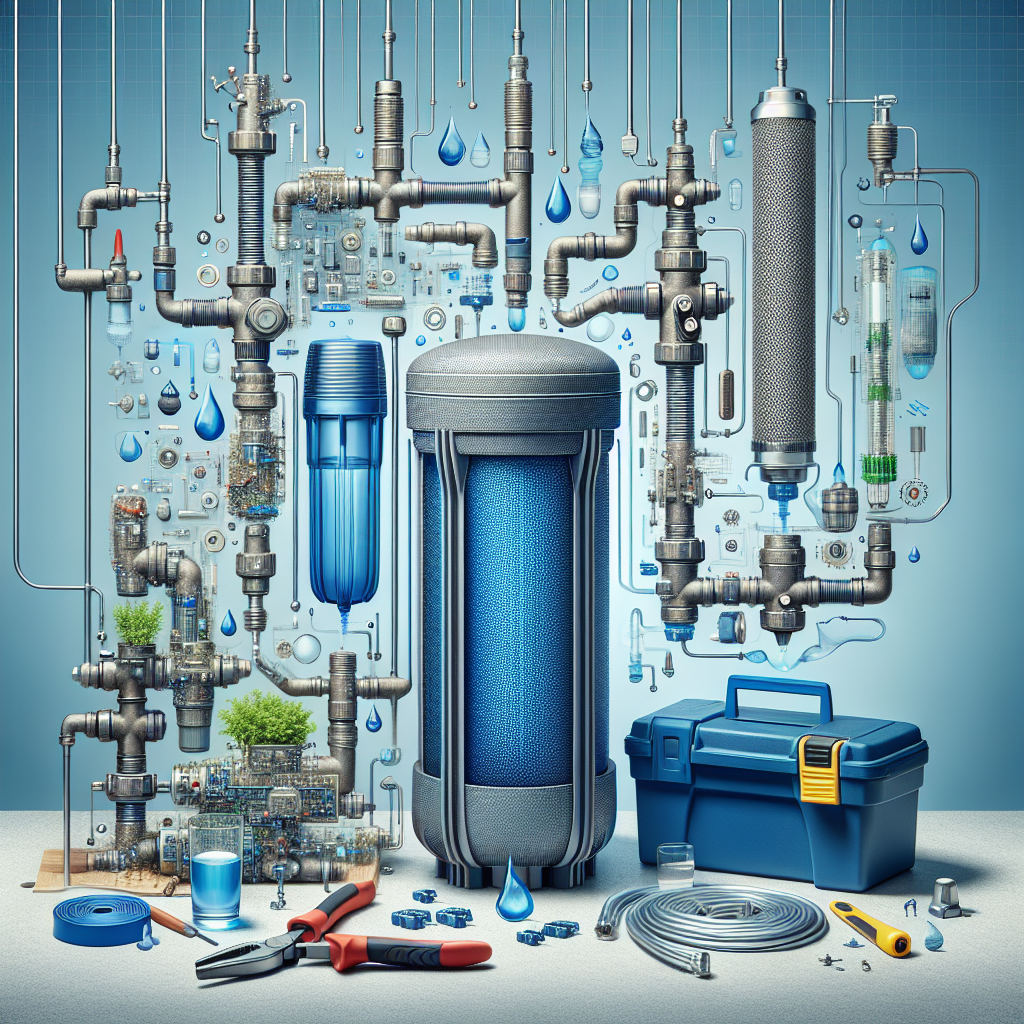
Looking to enhance the quality of your drinking water at home? Look no further. In this article, we will guide you through the simple and hassle-free process of installing a basic water filter. Whether you’re new to this or simply need a refresher, we’ve got you covered. So, grab your tools and get ready to enjoy clean and refreshing water right from your tap!

Gather the Necessary Tools and Materials
Before you start installing your basic water filter, it’s essential to gather all the necessary tools and materials. Here’s a list of items you’ll need to have on hand:
Water filter system
To begin with, make sure you have the water filter system itself. This could be an under-sink filter, a countertop filter, or even a whole-house filtration system, depending on your needs and preferences.
Filter cartridges
Next, you’ll need filter cartridges that are compatible with your filter system. These cartridges are responsible for trapping impurities and ensuring clean water flows through.
Filter housing
The filter housing acts as a protective cover for the filter cartridges. It helps secure them in place and ensures efficient filtration.
Filter wrench
A filter wrench is a handy tool that helps you open and close the filter housing during installation and maintenance.
Plumber’s tape
Plumber’s tape, also known as Teflon tape, is used to create a watertight seal between the different components of the water filter system.
Adjustable wrench
You’ll need an adjustable wrench to tighten and loosen fittings during the installation process.
Bucket
Having a bucket nearby is useful for catching any water that may leak during installation or maintenance.
Towels
Keep some towels handy to clean up any spills or drips that may occur during the installation process.
Choose the Right Location for Installation
Choosing the right location for your water filter installation is crucial for optimal performance and convenience. Here are some factors to consider:
Identify the main water supply line
Locate the main water supply line in your home. This is where you’ll need to connect your water filter system for it to effectively filter all the water coming into your house.
Find a suitable mounting location
Depending on the type of water filter system you have, you’ll need to find a suitable location to mount it. For under-sink filters, this might be under the kitchen sink, while for countertop filters, it could be on the countertop itself.
Ensure easy access for future maintenance
Make sure the chosen location allows for easy access to the water filter system for future maintenance tasks such as filter replacement or cleaning. This will save you time and effort down the line.
Consider plumbing regulations and codes
Before installing your water filter system, it’s essential to familiarize yourself with any plumbing regulations or codes in your area. Compliance ensures safety and adherence to legal requirements.
Prepare the Water Supply Line
Before you start installing the filter, it’s vital to prepare the water supply line to ensure a smooth installation process. Follow these steps:
Turn off the main water supply
Locate the main water shut-off valve in your home and turn it off. This will prevent water from flowing through the pipes while you work on the installation.
Use a wrench to disconnect the line
Using an adjustable wrench, carefully loosen and disconnect the water supply line from the main water supply or the existing plumbing fitting.
Drain any remaining water
Once the line is disconnected, it’s essential to drain any remaining water from it. You can do this by opening nearby faucets and letting the water flow out.
Clean the pipe ends
Before installing the filter, it’s a good idea to clean the pipe ends to remove any debris or dirt that might interfere with the installation. Use a damp cloth or sponge to wipe the pipe ends thoroughly.
Install the Filter Cartridge
Now that you’ve prepared the water supply line, it’s time to install the filter cartridge into the filter housing. Follow these steps:
Take the filter housing and remove the sump
The filter housing typically consists of a main body and a sump. Unscrew the sump from the filter housing to access the inside.
Insert the filter cartridge into the sump
Carefully insert the filter cartridge into the sump, ensuring that it fits securely. Follow the manufacturer’s instructions to ensure proper orientation and placement of the cartridge.
Apply plumber’s tape to the threads
To create a watertight seal, wrap plumber’s tape around the threads of the sump. This will prevent any leaks from occurring.
Screw the sump back onto the housing
Once the plumber’s tape is applied, screw the sump back onto the filter housing. Make sure it’s tightened securely but not overly tightened to avoid damaging the housing.
Tighten the sump with a filter wrench
Finally, use a filter wrench to tighten the sump further. This will ensure that the sump is properly sealed and prevent any leaks.
Connect the Filter to the Water Supply Line
With the filter cartridge installed, it’s time to connect the filter to the water supply line. Follow these steps:
Wrap the threads of the filter housing
Before connecting the filter housing to the water supply line, wrap plumber’s tape around the threads of the filter housing. This will create a secure and watertight connection.
Attach the filter housing to the supply line
Carefully attach the filter housing to the water supply line, making sure to align the threads properly. Slowly turn the housing clockwise until it is tightly secured to the supply line.
Tighten the connection with an adjustable wrench
Using an adjustable wrench, tighten the connection between the filter housing and the water supply line. Be careful not to overtighten, as this can damage the fittings or cause leaks.
Ensure a secure and leak-free connection
After tightening the connection, check for any signs of leaks. Run your fingers along the joints and connections to ensure there are no leaks or drips.
Turn on the Water Supply
With the filter installed and the connections secure, it’s time to turn on the water supply. Follow these steps:
Open a nearby tap to release trapped air
Open a nearby tap or faucet to allow any trapped air within the pipes to escape. This will prevent any airlocks in the system and ensure a steady flow of water.
Slowly turn on the main water supply
Now that the tap is open, slowly turn on the main water supply valve. This will allow water to flow into the filter and throughout your plumbing system.
Check for any leaks at the filter housing
While the water is flowing, closely inspect the filter housing and its connections for any signs of leaks. If you notice any drips or leaks, turn off the water supply and tighten the connections further.
Allow water to run for a few minutes
After turning on the water supply, let the water run for a few minutes to help flush out any air or debris that may have accumulated during installation. This will also ensure that the water flowing through is adequately filtered.
Inspect and Test the Installation
Once the water is running smoothly through the filter, it’s important to inspect and test the installation to ensure everything is in working order. Follow these steps:
Examine the filter system for any leaks
Take a few moments to carefully examine the entire filter system, including the housing, connections, and fittings, for any signs of leaks. Address any leaks immediately to prevent damage or contamination.
Check the water flow and pressure
Test the water flow by opening various taps and faucets throughout your home. Ensure that the water pressure is consistent and that there are no sudden drops or fluctuations.
Test the water for improved quality
One of the main reasons for installing a water filter is to improve water quality. Fill a glass with filtered water and compare its taste, clarity, and odor to that of unfiltered water. If you notice a significant improvement, your installation has been successful.
Follow the manufacturer’s instructions
Always refer to the manufacturer’s instructions for specific testing procedures and any additional steps that may be required. Remember that different filter systems may have varying instructions and recommendations.
Perform Regular Maintenance
To keep your water filter system functioning optimally, regular maintenance is necessary. Here are some important maintenance tasks to consider:
Replace filter cartridges as recommended
Filter cartridges have a lifespan, and it’s crucial to replace them when they reach the end of their service life. Follow the manufacturer’s recommendations on replacement intervals to ensure effective filtration.
Clean the filter housing periodically
Over time, sediment and debris may accumulate within the filter housing. It’s important to periodically remove the sump and clean the housing to maintain optimal performance.
Check for any signs of wear or damage
Regularly inspect the filter system for any signs of wear, damage, or deterioration. This can include cracked housings, damaged fittings, or degraded filter cartridges. Address any issues promptly to prevent further complications.
Follow the maintenance schedule
Every water filter system comes with its own maintenance schedule. This schedule typically outlines specific maintenance tasks and intervals for your particular system. Make it a habit to follow this schedule to ensure your filter system’s longevity.
Troubleshooting Common Issues
Even with proper installation and maintenance, issues may arise with your water filter system. Here are some common issues and troubleshooting tips:
Low water pressure
If you experience low water pressure after installing the filter, check for any clogs or obstructions in the water supply line or the filter cartridges. Clean or replace any clogged components as necessary.
Filter leaks
If you notice any leaks from the filter housing or connections, ensure that all the fittings are tightened securely. If leaks persist, consider replacing faulty components or contacting a professional for assistance.
Strange taste or odor
If the water tastes or smells strange after installation, it could be an indication of a filter cartridge that needs replacing. Check the filter cartridges’ lifespan and replace them if necessary.
Clogging issues
In case of clogging, verify that the filter cartridges are clean and functioning correctly. Consider installing a pre-filter if your water source has a lot of sediments or particles that might clog the system.
Considerations and Final Tips
When installing a basic water filter, there are a few additional considerations and tips to keep in mind:
Choose a filter suitable for your needs
Consider the specific water quality issues you want to address and choose a filter system that effectively targets those concerns. Whether it’s chlorine, heavy metals, or sediment, make sure your chosen filter can adequately remove them.
Follow manufacturer’s instructions carefully
Always read and follow the manufacturer’s instructions for the specific water filter system you have. Their recommendations will guide you through the installation process and ensure you get the most out of your filter system.
Consider professional installation when unsure
If you’re unsure about any aspect of the installation process or have complex plumbing systems, consider hiring a professional plumber. They have the expertise and experience to handle intricate installations and ensure everything is done correctly.
Keep track of filter replacement dates
Maintaining a record of when you last replaced the filter cartridges will help you stay on top of their replacements. Set reminders or mark your calendar to ensure you change them at the appropriate intervals.
By following these steps, performing regular maintenance, and addressing any issues promptly, you can enjoy clean and filtered water throughout your home. Remember, keeping your water filter system in optimal condition is essential for your health and well-being. Cheers to healthier and tastier water!

