Have you ever looked at a plumbing schematic and felt completely lost? Don’t worry, you’re not alone. Plumbing schematics can be daunting, filled with complex symbols and lines that seem like a foreign language. But fear not! In this beginner’s guide, we’ll break down the basics and demystify plumbing schematics, giving you the confidence to navigate and understand these diagrams with ease. So grab a pen and paper, put on your learning hat, and let’s dig into the world of plumbing schematics together!
What are Plumbing Schematics?
Definition
Plumbing schematics, also known as plumbing diagrams or plumbing plans, are visual representations of a building’s plumbing system. They provide a detailed layout of the pipes, fixtures, valves, and controls, showing how they are interconnected and how water flows through the system. These diagrams are essential for understanding and planning the installation, repair, or modification of plumbing systems in residential, commercial, or industrial buildings.
Importance
Plumbing schematics play a crucial role in the proper functioning and maintenance of a building’s plumbing system. They serve as a blueprint for plumbers, architects, contractors, and engineers, guiding them in the construction, renovation, or repair of plumbing systems. By providing a clear and concise overview of the system, plumbing schematics facilitate troubleshooting, identify potential issues, and support efficient communication between different professionals involved in the plumbing process.
Common Symbols and Abbreviations
Standard Symbols
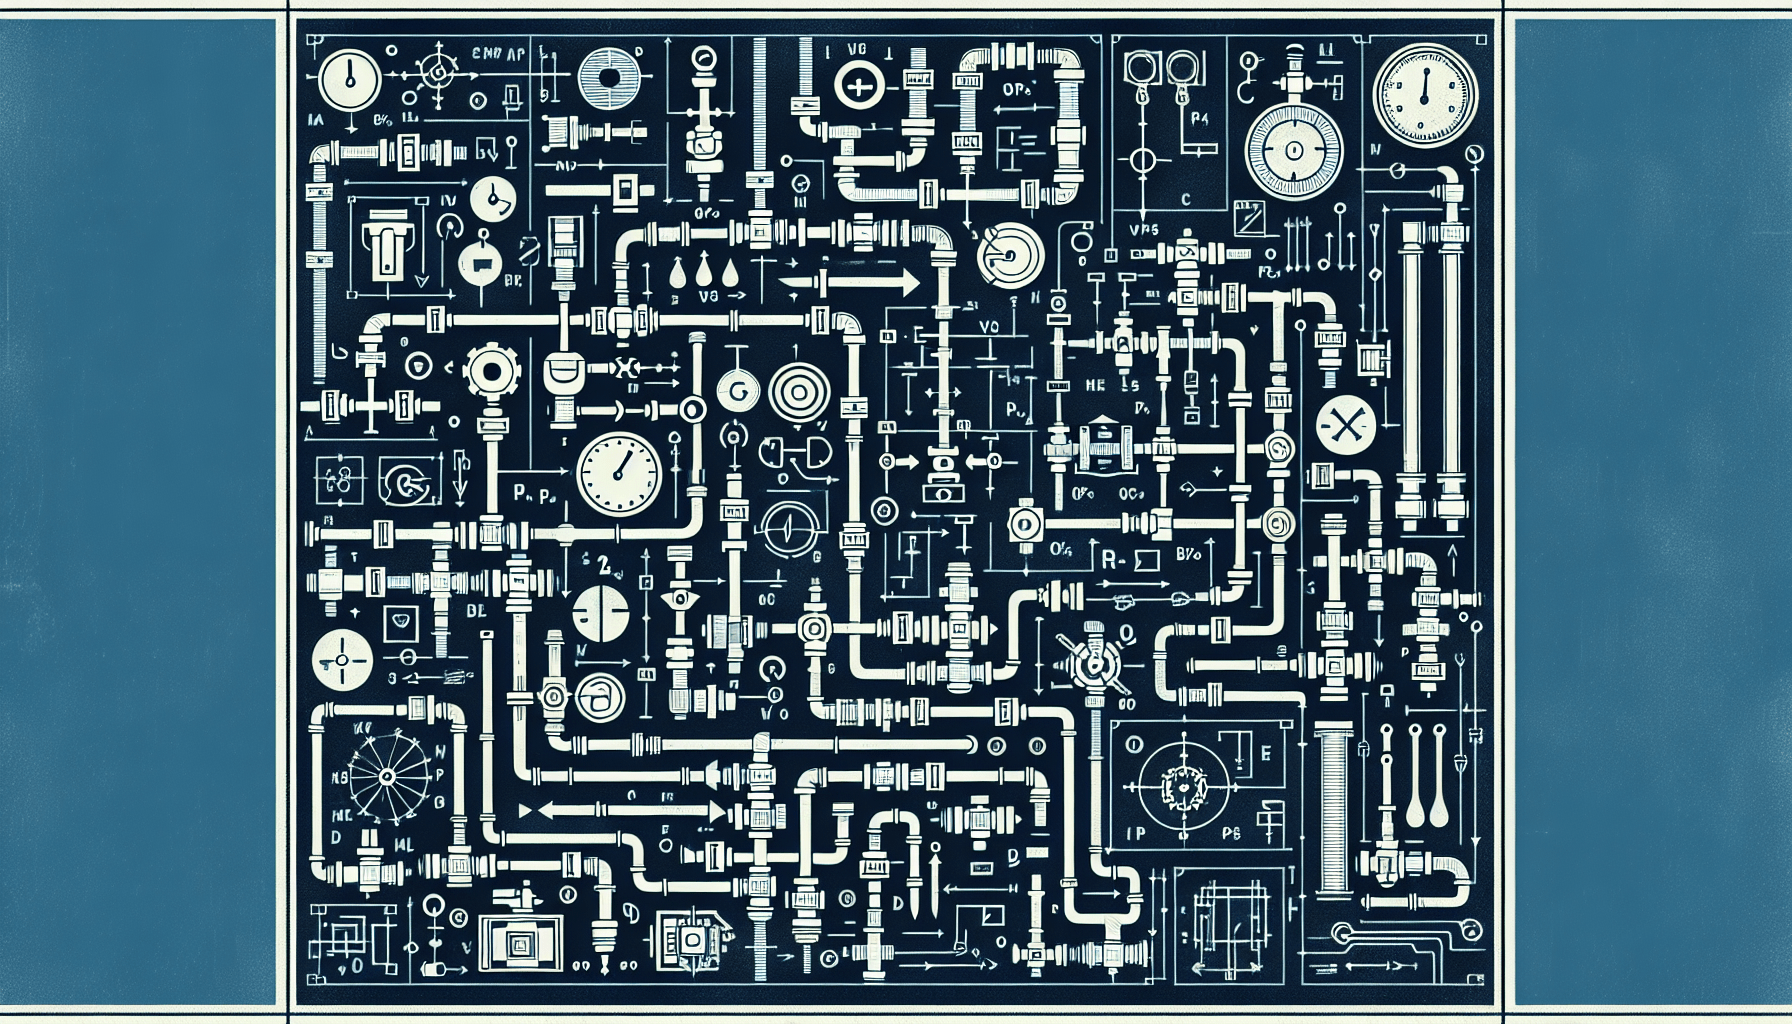
Plumbing schematics use standard symbols to represent various components of the plumbing system. These symbols are universally recognized and ensure consistency and clarity in the diagrams. Some common symbols used in plumbing schematics include:
- Straight lines for pipes
- Circles or ovals for fixtures such as sinks, toilets, and showers
- Squares or rectangles for valves and controls
- Arrows indicating the flow direction of water or other fluids
- Crosses or X marks to indicate closures or blockages
- Dots or small circles to represent connection points or junctions
By understanding these symbols, individuals can easily interpret and analyze the plumbing schematics.
Abbreviations
Plumbing schematics also use abbreviations to convey information concisely. These abbreviations represent specific materials, fittings, or measurements commonly used in plumbing systems. Some common abbreviations found in plumbing schematics include:
- PVC: Polyvinyl chloride, a common type of plastic pipe material
- CPVC: Chlorinated polyvinyl chloride, a type of plastic pipe material resistant to high temperatures
- NPT: National Pipe Thread, a standard for tapered threads used in pipe fittings
- GPM: Gallons per minute, a measurement unit for water flow rate
- PSI: Pounds per square inch, a measurement unit for pressure
Understanding these abbreviations is essential for accurately interpreting the diagrams.

Types of Plumbing Schematics
Isometric Diagrams
Isometric diagrams are three-dimensional representations of the plumbing system. They provide a more realistic view of the system by showing the pipes and fixtures at angles and with perspective. Isometric diagrams are commonly used in construction and renovation projects as they allow for better visualization and understanding of how the plumbing components fit together.
Orthographic Diagrams
Orthographic diagrams, also known as plan views, represent the plumbing system from a top-down perspective. They provide a flat, two-dimensional view of the system, making it easier to understand the layout and structure. Orthographic diagrams are typically used in architectural plans and blueprints.
Both isometric and orthographic diagrams are important for understanding the plumbing system, and they complement each other by providing different perspectives on the system’s layout.
Reading a Plumbing Schematic
Layout and Structure
When reading a plumbing schematic, it is crucial to understand the layout and structure of the diagram. The diagram typically consists of pipes, fixtures, valves, controls, labels, and symbols. Understanding the general arrangement of these elements within the schematic helps in interpreting the system’s overall design and flow.
Flow Direction
One of the essential aspects of reading a plumbing schematic is identifying the flow direction of water or other fluids within the system. Arrows or directional symbols are used to indicate the flow direction of fluids, ensuring that plumbers and professionals can easily trace the path of water through the pipes.
Data and Labels
Plumbing schematics often include important data and labels to provide additional information about components and systems. These labels may include pipe sizes, materials, fixture types, valve specifications, and other relevant data. Understanding these labels helps in making informed decisions regarding repairs, modifications, or replacements within the plumbing system.

Interpreting Pipes and Fittings
Pipes: Material and Size
Plumbing schematics provide information about the different pipes used in the system, including the materials and sizes of the pipes. Common pipe materials include PVC, CPVC, copper, and galvanized steel. The pipe size is indicated by a numerical value, often expressed in inches or millimeters, representing the diameter of the pipe. Understanding the pipe material and size is essential when determining compatibility, water flow rates, and pressure capacities within the plumbing system.
Pipe Fittings: Types and Functions
Pipe fittings are crucial components in a plumbing system as they connect and control the flow of water between pipes. Plumbing schematics use symbols to represent various types of pipe fittings, such as elbows, tees, couplings, valves, and unions. By interpreting these symbols and understanding their functions, professionals can determine how different pipes are connected and which fittings are necessary for proper installation, repair, or modification of the plumbing system.
Understanding Valves and Controls
Types of Valves
Plumbing schematics identify different types of valves within the system. Valves are used to control the flow of water, isolate sections of the plumbing system, and regulate water pressure. Some common types of valves found in plumbing systems include ball valves, gate valves, check valves, and pressure-reducing valves. Understanding the function and operation of these valves is crucial for maintaining and troubleshooting the plumbing system effectively.
Control Devices
In addition to valves, plumbing schematics may also include control devices that regulate the operation of the plumbing system. These control devices can include pressure regulators, thermostats, timers, and sensors. Understanding the location and purpose of these control devices is essential for ensuring the efficient and safe functioning of the plumbing system.
Identifying Fixtures and Appliances
Toilets and Urinals
Plumbing schematics clearly indicate the location and type of fixtures within the building. Toilets and urinals are essential fixtures in any plumbing system, and their proper installation and connection are crucial for maintaining hygiene and functionality. The schematics help to identify the fixtures and understand their connection to the water supply and drainage system.
Sinks and Faucets
Sinks and faucets are common fixtures found in kitchens, bathrooms, and other areas of a building. Plumbing schematics help in identifying the location of sinks and faucets, as well as their connection to the hot and cold water supply lines and waste drainage system. Understanding these connections is vital for installation, repair, or replacement of sinks and faucets.
Showers and Bathtubs
Plumbing schematics also indicate the location and connection of showers and bathtubs within the building. Showers and bathtubs have specific plumbing requirements, including hot and cold water supply, drainage, and control mechanisms. By referring to the schematics, plumbers can ensure proper installation and functionality of showers and bathtubs.
Venting and Drainage Systems
Sanitary Drainage System
Plumbing schematics provide detailed information about the sanitary drainage system, which is responsible for removing wastewater from the building. The diagram indicates the location and size of drain pipes, vents, and traps. Understanding the layout of the sanitary drainage system and the connection points between different fixtures and drains helps in troubleshooting blockages, preventing odors, and ensuring the proper flow of wastewater.
Ventilation
Ventilation is a crucial aspect of plumbing systems, as it allows for the release of odors and prevents the buildup of harmful gases. Plumbing schematics indicate the location and type of ventilation pipes or vents, which are essential for maintaining a healthy and functional plumbing system. Understanding the ventilation system helps in identifying potential issues, such as clogs or blockages, and ensuring proper airflow within the plumbing system.
Troubleshooting Plumbing Issues
Leaks and Drips
Plumbing schematics are invaluable resources when it comes to troubleshooting leaks and drips within the plumbing system. By analyzing the schematic, professionals can identify the location of the leaks, determine the cause, and plan an appropriate solution. Whether it’s a faulty pipe connection, a damaged fixture, or a worn-out gasket, the schematic provides a visual guide for resolving the issue effectively.
Clogs and Blockages
Clogs and blockages are common plumbing issues that can disrupt the flow of water and lead to backups and overflows. Plumbing schematics help in locating the components and pipes involved in the blockage and guide plumbers in clearing the obstruction. By following the path of the pipes and analyzing the schematic, professionals can identify the most efficient access points for resolving clogs and blockages.
Plumbing Schematics in Construction
Blueprints and Building Plans
Plumbing schematics are an integral part of blueprints and building plans. Architects and engineers include plumbing schematics in their designs to ensure proper integration of the plumbing system with the overall building structure. These schematics provide vital information for contractors and plumbers during the construction process, facilitating accurate installation and minimizing the chances of errors or conflicts with other building systems.
Collaboration with Plumbers
Plumbing schematics encourage collaboration between construction professionals, architects, and plumbers. By sharing the schematics, there is clear communication about the desired plumbing system layout, components, and connections. This collaboration ensures that all parties involved have a comprehensive understanding of the plumbing system, leading to smoother construction processes, fewer mistakes, and ultimately a well-designed and functional plumbing system.
In conclusion, understanding plumbing schematics is crucial for anyone involved in the installation, repair, or maintenance of plumbing systems. By familiarizing oneself with the symbols, abbreviations, and components commonly used in plumbing schematics, individuals can efficiently interpret these diagrams and ensure the proper functioning and longevity of the plumbing system. Whether it’s reading the flow direction, identifying pipes and fittings, understanding valves and controls, or troubleshooting issues, plumbing schematics provide the necessary guidance for professionals to navigate the complex world of plumbing.