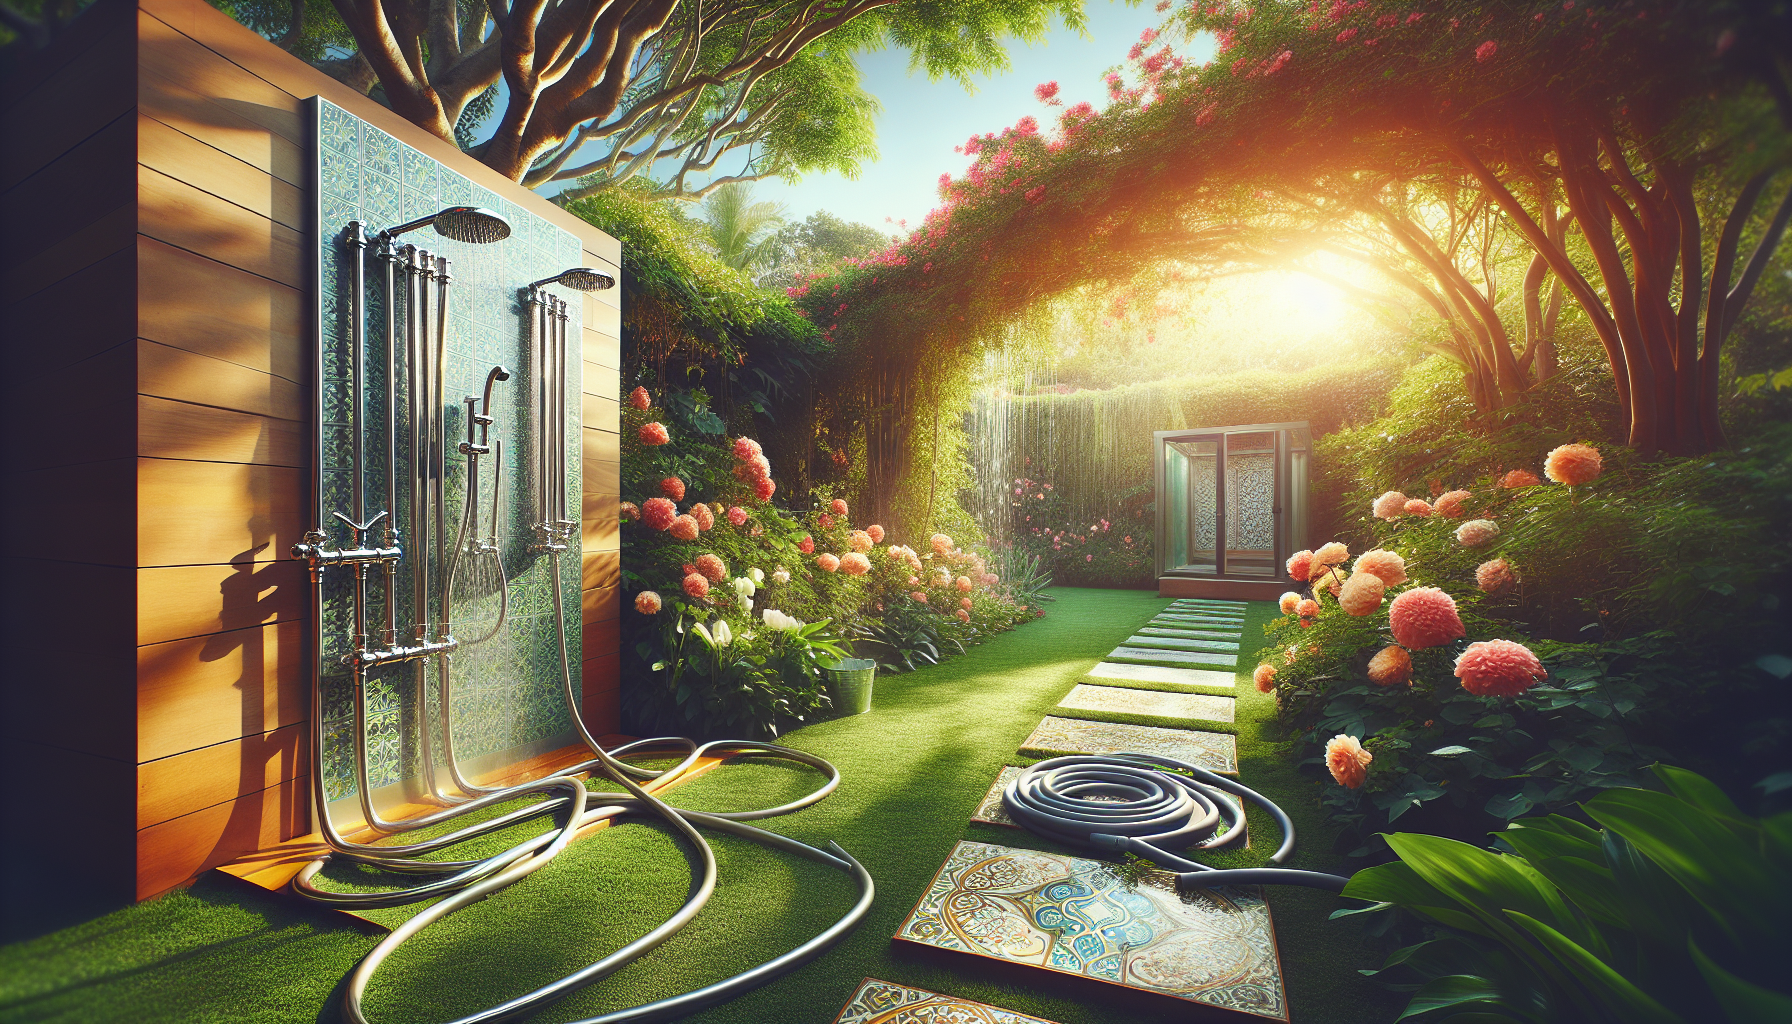
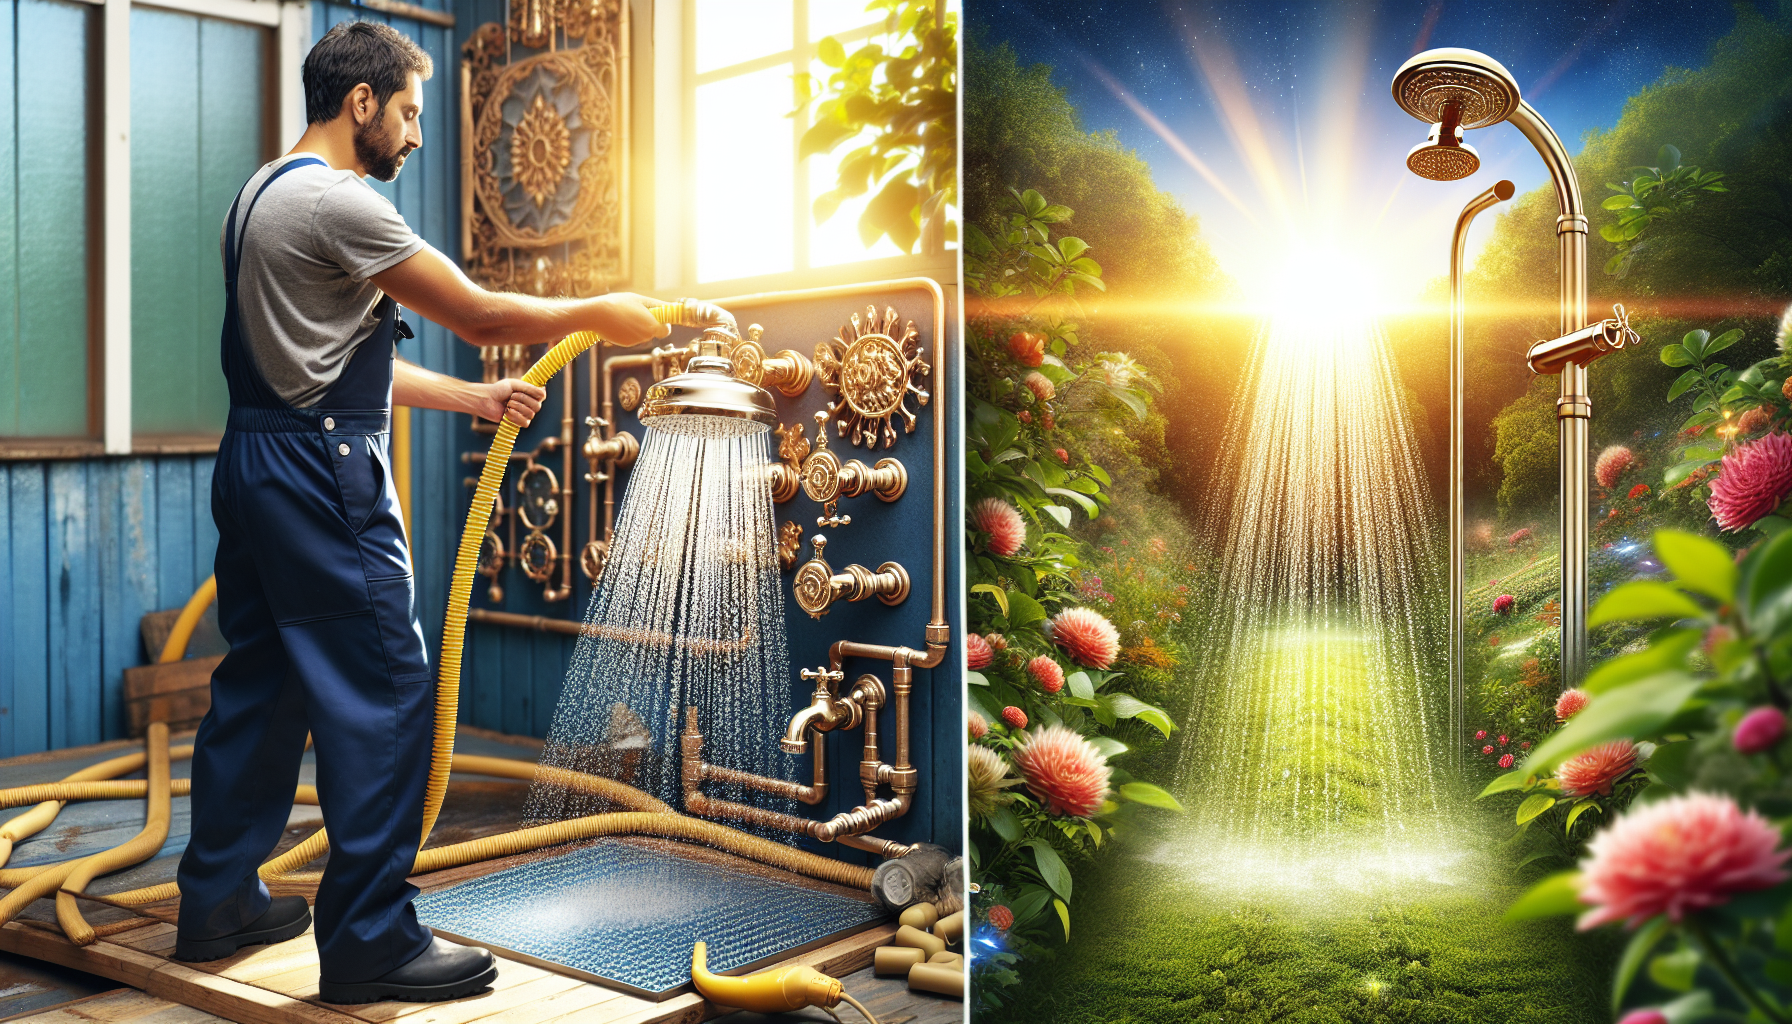
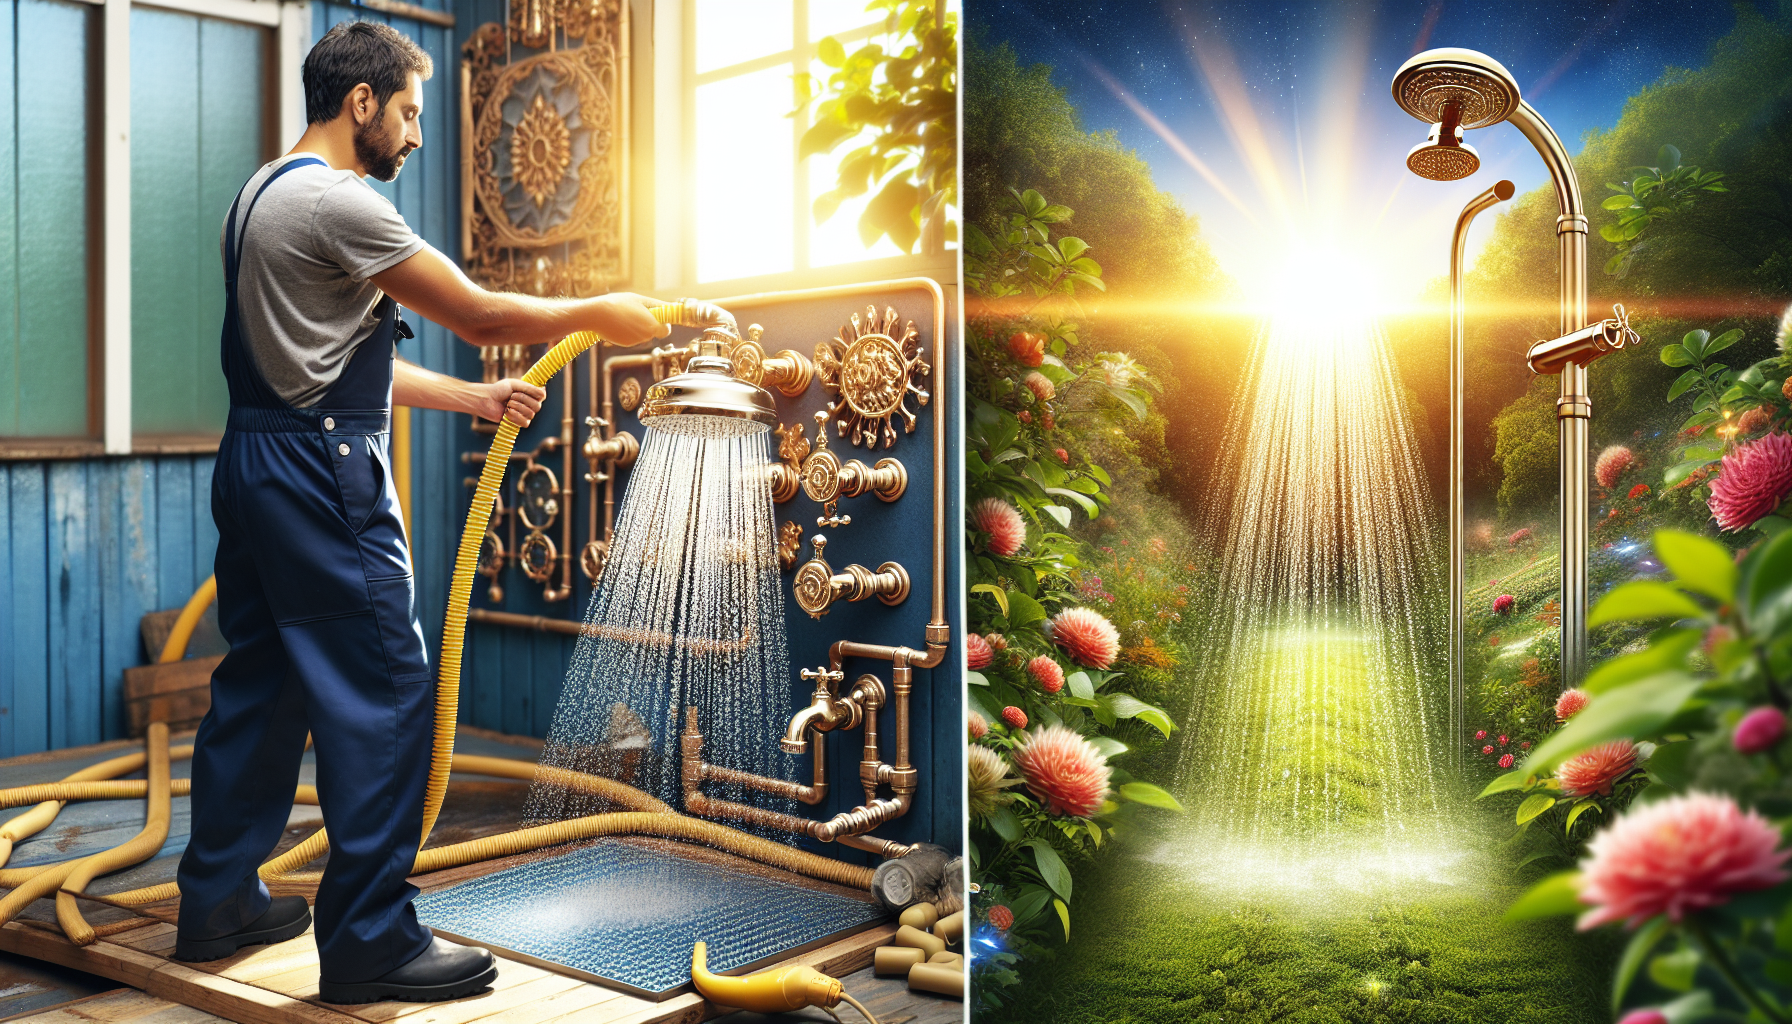
Are you looking to enhance your outdoor living space with a stunning new kitchen or upgrade your backyard with a relaxing shower? Look no further! This guide to installing and maintaining outdoor plumbing is here to help you transform your backyard dreams into reality. Whether you’re a seasoned DIY enthusiast or just starting out, this comprehensive guide will provide you with the essential tips and tricks to successfully install and maintain your outdoor plumbing system. From laying pipes to choosing the right fixtures, we’ve got you covered. So, grab your toolbox and get ready to create the outdoor oasis you’ve always wanted!

Planning and Preparation
Assessing your needs
Before installing outdoor plumbing, it’s important to assess your needs and determine what specific functions you want the plumbing system to serve. Are you looking to install a sprinkler system for watering your garden? Or do you need a drainage system to prevent water buildup? Consider all the potential uses and make a list of everything you would like your outdoor plumbing to accomplish.
Determining the layout
Once you have a clear understanding of your needs, the next step is to determine the layout of your outdoor plumbing system. Take into consideration the existing infrastructure, such as your main water supply and any existing drainage systems. Map out the areas where you want pipes, drains, and other components to be installed. Consider factors such as ease of access, aesthetic appeal, and functionality when deciding on the layout.
Checking local regulations
Before proceeding with any outdoor plumbing installation, it’s crucial to check your local regulations and codes. Different areas may have specific requirements and restrictions regarding outdoor plumbing. Contact your local municipality or building department to obtain the necessary permits and ensure that your planned installation complies with all regulations. This step will save you from future headaches and potential fines.
Choosing the Right Materials
Piping materials
When it comes to choosing the right materials for your outdoor plumbing system, durability is key. Look for pipes made of materials that can withstand exposure to the elements, such as high-density polyethylene (HDPE) or PVC. These materials are resistant to corrosion, cracks, and leaks, making them ideal choices for outdoor use. Consider factors such as the water pressure and the specific requirements of your plumbing system when selecting the appropriate piping material.
Fittings and connectors
Equally important are the fittings and connectors that you choose for your outdoor plumbing system. These components ensure a tight and secure connection between pipes, preventing leaks and water wastage. Opt for fittings and connectors made of materials that are resistant to rust and corrosion, such as brass or stainless steel. Make sure to choose the correct sizes and types of fittings to ensure a proper fit and compatibility with your chosen piping material.
Valves and controls
Valves and controls play a significant role in the functionality and efficiency of your outdoor plumbing system. Gate valves, ball valves, or butterfly valves are commonly used in outdoor plumbing installations. These valves allow you to control the flow of water and turn off specific sections of the plumbing system when needed. Consider adding pressure regulators and backflow prevention devices to protect your plumbing system and comply with local regulations.
Tools and Equipment
Basic tools
Having the right tools is essential for a successful outdoor plumbing installation. Some basic tools you’ll need include a pipe cutter, wrenches, pliers, and a tape measure. These tools will help you cut and secure pipes, tighten fittings, and measure the correct lengths. Additionally, a shovel and a pickaxe will be necessary for excavation and trenching tasks. Investing in a quality set of basic tools will save you time and frustration during the installation process.
Specialized equipment
Depending on the complexity of your outdoor plumbing system, you may need specialized equipment to assist with the installation. For example, if you are installing a sprinkler system, a trencher or an irrigation controller might be necessary. A pipe threader or a fusion machine may be required if you are working with specific types of pipes and fittings. Determine the specific equipment you need based on your planned installation and consider renting or purchasing these items.
Safety gear
Don’t forget to prioritize safety when working on outdoor plumbing projects. Always wear appropriate safety gear, including gloves, safety goggles, and work boots. Depending on the nature of your installation, additional safety equipment such as a hard hat or a dust mask may be necessary. Protecting yourself from potential hazards will ensure that you can complete the project without any injuries or accidents.
Installation Process
Excavation and trenching
Once you have all the necessary tools and equipment, it’s time to start the installation process. Begin by excavating the area where you plan to install the outdoor plumbing system. Use a shovel or a pickaxe to dig trenches for the pipes and drains. Take care to ensure proper slope and alignment for efficient water flow. Keep in mind any underground utilities or obstacles that may affect the excavation process. It’s always a good idea to contact your local utility companies to mark any buried lines before digging.
Connecting to the main water supply
After excavating the trenches, the next step is to connect your outdoor plumbing system to the main water supply. Depending on the location, you may need to install a backflow prevention device to prevent contamination of the potable water supply. Ensure that all connections are secure and watertight to avoid leaks and water wastage. It’s recommended to consult a professional plumber if you’re unsure about connecting to the main water supply.
Assembling and installing the plumbing system
With the main water supply connected, it’s time to assemble and install the various components of your outdoor plumbing system. Start by laying the pipes in the trenches, making sure to align them properly and secure them with fittings and connectors. Install any necessary valves, controls, and other fixtures as per your planned layout. Double-check all connections and ensure that they are tight and properly sealed. Once everything is in place, turn on the water supply and check for any leaks or issues.

Sealing and Insulation
Sealing pipe joints
To prevent leaks and water loss, it’s essential to properly seal all pipe joints in your outdoor plumbing system. Use appropriate sealing materials, such as pipe thread tape or sealant, to ensure a watertight connection. Apply the sealing material to the male threads of the fittings and connectors and then tighten them securely. Regularly inspect the pipe joints for any signs of leaks and promptly address any issues to maintain the integrity of your plumbing system.
Insulating exposed pipes
Exposure to extreme temperatures can cause outdoor pipes to freeze and potentially burst. To protect against this, insulate any exposed pipes in your outdoor plumbing system. Use pipe insulation sleeves or wrap the pipes with heat tape to prevent freezing. Pay extra attention to areas where pipes are near exterior walls or in colder regions. Proper insulation will not only prevent costly repairs but also contribute to energy efficiency by reducing heat loss.
Protecting against freezing
In addition to insulation, there are other measures you can take to protect your outdoor plumbing system from freezing. Install shut-off valves and drain any water remaining in the pipes before winter sets in. Disconnect and store outdoor hoses and faucets in a dry place to prevent water from freezing inside them. Consider installing frost-free hose bibs that automatically drain water when not in use. Taking these precautions will help avoid the costly consequences of frozen and burst pipes.
Backflow Prevention
Understanding backflow
Backflow is the undesirable reversal of water flow in a plumbing system, which can result in the contamination of potable water with non-potable water or other substances. It’s important to understand the risks of backflow and the potential health hazards it poses. Backflow can occur due to pressure changes, such as a sudden drop in the main water supply pressure or the introduction of a contaminant into the plumbing system. Proper backflow prevention measures are crucial to protect both the public water supply and your own plumbing system.
Installing backflow prevention devices
To prevent backflow, it’s essential to install backflow prevention devices in your outdoor plumbing system. The specific type of device required depends on the level of hazard and the local regulations. Common backflow prevention devices include air gaps, reduced pressure zone (RPZ) assemblies, and double check valves. Consult with a professional plumber to determine the appropriate backflow prevention device for your specific needs and ensure proper installation to comply with local codes.
Testing and maintenance
Installing backflow prevention devices is not enough; regular testing and maintenance are necessary to ensure their effectiveness. Backflow prevention devices should be tested annually by a certified professional to confirm their proper operation and compliance with regulations. Additionally, it’s important to perform routine maintenance tasks, such as cleaning and replacing worn-out parts. Following a regular testing and maintenance schedule will help keep your backflow prevention devices functioning correctly and protect your water supply.
Managing Drainage
Creating proper slopes and gradients
Proper slopes and gradients are crucial for effective drainage in your outdoor plumbing system. When designing and installing drainage systems, ensure that there is a gradual slope to allow water to flow naturally. A minimum slope of 1/8 inch per foot is recommended for most drainage applications. Pay attention to the specific requirements of your landscape and the intended purpose of the drainage system. Proper slopes and gradients will prevent water pooling and potential damage to your property.
Installing drains and gutters
To effectively manage drainage around your property, install drains and gutters in strategic locations. Drains can be installed in low-lying areas, around foundations, or near areas prone to water buildup. Gutters should be installed along the roofline to collect rainwater and direct it away from the foundation. Use appropriate materials for drains and gutters that are resistant to corrosion and can handle the volume of water in your specific area. Regularly clean and maintain drains and gutters to ensure proper functioning.
Maintaining drainage systems
To keep your outdoor drainage system working efficiently, regular maintenance is necessary. Inspect drains and gutters periodically for any blockages or debris that may hinder proper water flow. Remove any accumulated leaves, sticks, or other debris that could clog the drains. If you notice any signs of water pooling or inadequate drainage, investigate the cause and take necessary measures to address the issue promptly. Proper maintenance of your drainage system will prevent water damage and preserve the integrity of your property.
Water Conservation
Installing rainwater harvesting systems
Water conservation is becoming increasingly important, and installing a rainwater harvesting system is a great step towards sustainable water usage. Rainwater harvesting systems collect and store rainwater for later use in irrigation or other non-potable applications. The key components of a rainwater harvesting system include gutters, downspouts, filters, storage tanks, and distribution systems. Consult with a professional to determine the appropriate size of the system based on your water needs and the local climate.
Using efficient irrigation methods
Efficient irrigation methods can significantly reduce water consumption in outdoor spaces. Consider installing drip irrigation systems or low-flow sprinkler heads that target water delivery to the root zone of plants, minimizing evaporation and runoff. Implement timers and sensors to automate irrigation schedules and adjust for weather conditions. Regularly monitor and adjust irrigation settings to optimize water usage. By using efficient irrigation methods, you can reduce water waste and promote healthier plant growth.
Detecting and fixing leaks
Water leaks can contribute to significant water waste and inflated water bills. Regularly inspect your outdoor plumbing system for any signs of leaks, such as damp spots or unexplained vegetation growth. Pay attention to sprinkler heads, hose connections, and any exposed pipes. If you detect a leak, promptly fix it to prevent further water loss. Replace worn-out washers and seals, tighten loose connections, or consult with a professional plumber for more complex repairs. Consistently checking for and addressing leaks will help conserve water and save you money in the long run.
Winterization
Draining and protecting outdoor faucets
As winter approaches, it’s crucial to properly prepare your outdoor faucets to prevent freezing and potential pipe bursts. Begin by shutting off the water supply to the outdoor faucets and opening the taps to drain any remaining water. Disconnect garden hoses and store them indoors. Consider installing insulating foam covers on the faucets to provide an additional layer of protection against freezing temperatures. Taking these steps will ensure that your outdoor faucets are protected during the winter season.
Insulating and heating pipes
In addition to protecting outdoor faucets, it’s important to insulate and heat any exposed pipes in your outdoor plumbing system to prevent freezing. Use pipe insulation sleeves or heat tape to cover the pipes and maintain a suitable temperature. Focus on areas that are susceptible to freezing, such as pipes near exterior walls or in unheated areas. Additionally, consider using heat trace cables for added protection. Taking these precautions will prevent costly damage caused by frozen and burst pipes.
Preventing ice dams and icicles
Ice dams and icicles can cause both structural and plumbing problems during the winter season. To prevent ice dams, ensure proper attic insulation and ventilation to maintain consistent roof temperatures. Properly insulate and seal any locations where warm air can escape into the attic. To address icicles, consider installing heat tapes or ice melting cables on the roof edges to prevent ice buildup. Regularly remove snow and ice from gutters and downspouts to prevent blockages. By taking preventive measures, you can avoid damage to your property caused by ice dams and icicles.
Maintenance and Troubleshooting
Regular inspection and cleaning
To ensure the longevity and proper functioning of your outdoor plumbing system, regular inspection and cleaning are essential. Schedule periodic inspections to check for any signs of leaks, cracks, or damage to pipes, fittings, and valves. Clean drains and gutters of any debris that may hinder proper water flow. If you notice any issues, address them promptly to prevent further damage or costly repairs. By performing regular maintenance, you can identify and resolve any potential issues before they escalate.
Identifying common issues
Understanding common issues that may arise in outdoor plumbing systems can help you troubleshoot problems effectively. Some common issues include leaking pipes, clogged drains, malfunctioning valves, and low water pressure. Carefully observe your plumbing system and take note of any unusual signs or symptoms. Learning to identify these issues will empower you to take appropriate measures or seek professional assistance when necessary.
Repairing and replacing damaged components
In the event of damage or malfunctioning components in your outdoor plumbing system, timely repairs or replacements are crucial. Leaking pipes should be repaired by replacing the damaged section or using appropriate sealing materials. Clogged drains may require using drain augers or hydro-jetting equipment to remove blockages. Faulty valves and controls should be replaced to ensure proper operation. If you are unsure or uncomfortable performing repairs yourself, it’s always advisable to consult with a professional plumber who can efficiently handle the repairs and replacements.
In conclusion, installing and maintaining outdoor plumbing requires careful planning and consideration. By assessing your needs, choosing the right materials, utilizing the proper tools and equipment, following the correct installation process, sealing and insulating pipes, implementing backflow prevention measures, managing drainage, promoting water conservation, winterizing your system, and performing regular maintenance and troubleshooting, you can enjoy a well-functioning and efficient outdoor plumbing system for years to come. Remember to always prioritize safety and consult with professionals when needed to ensure the best results.

