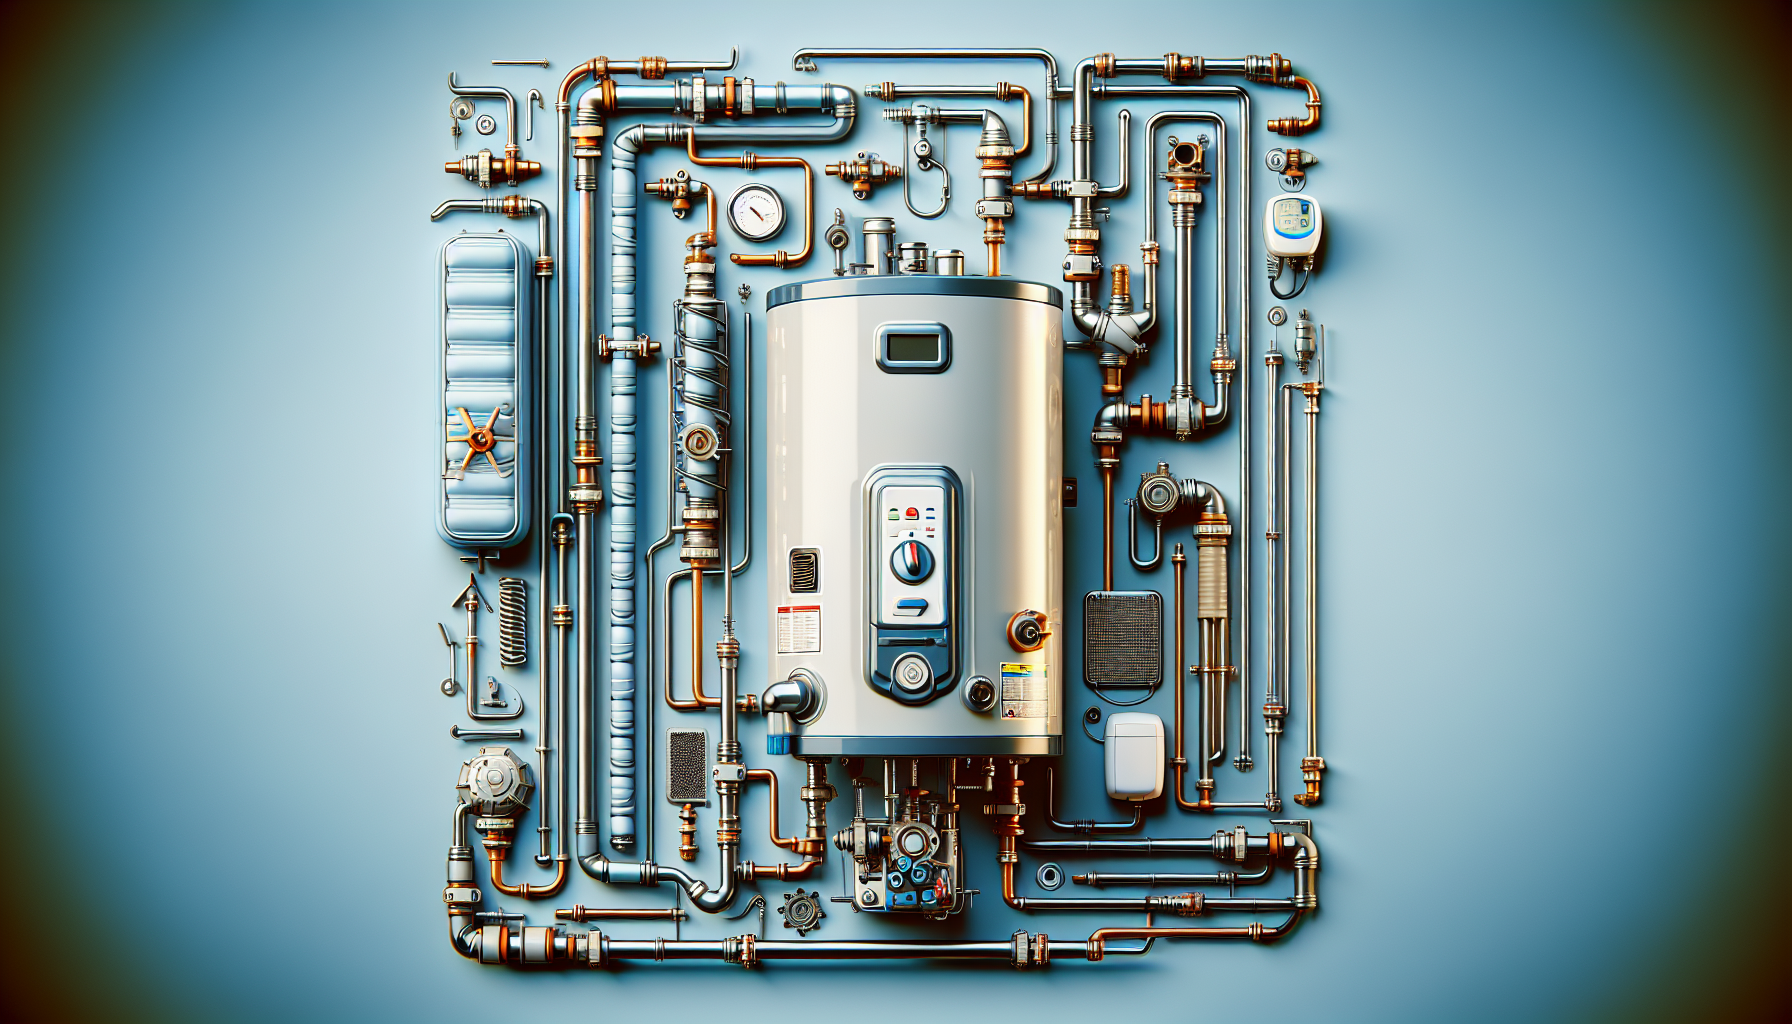
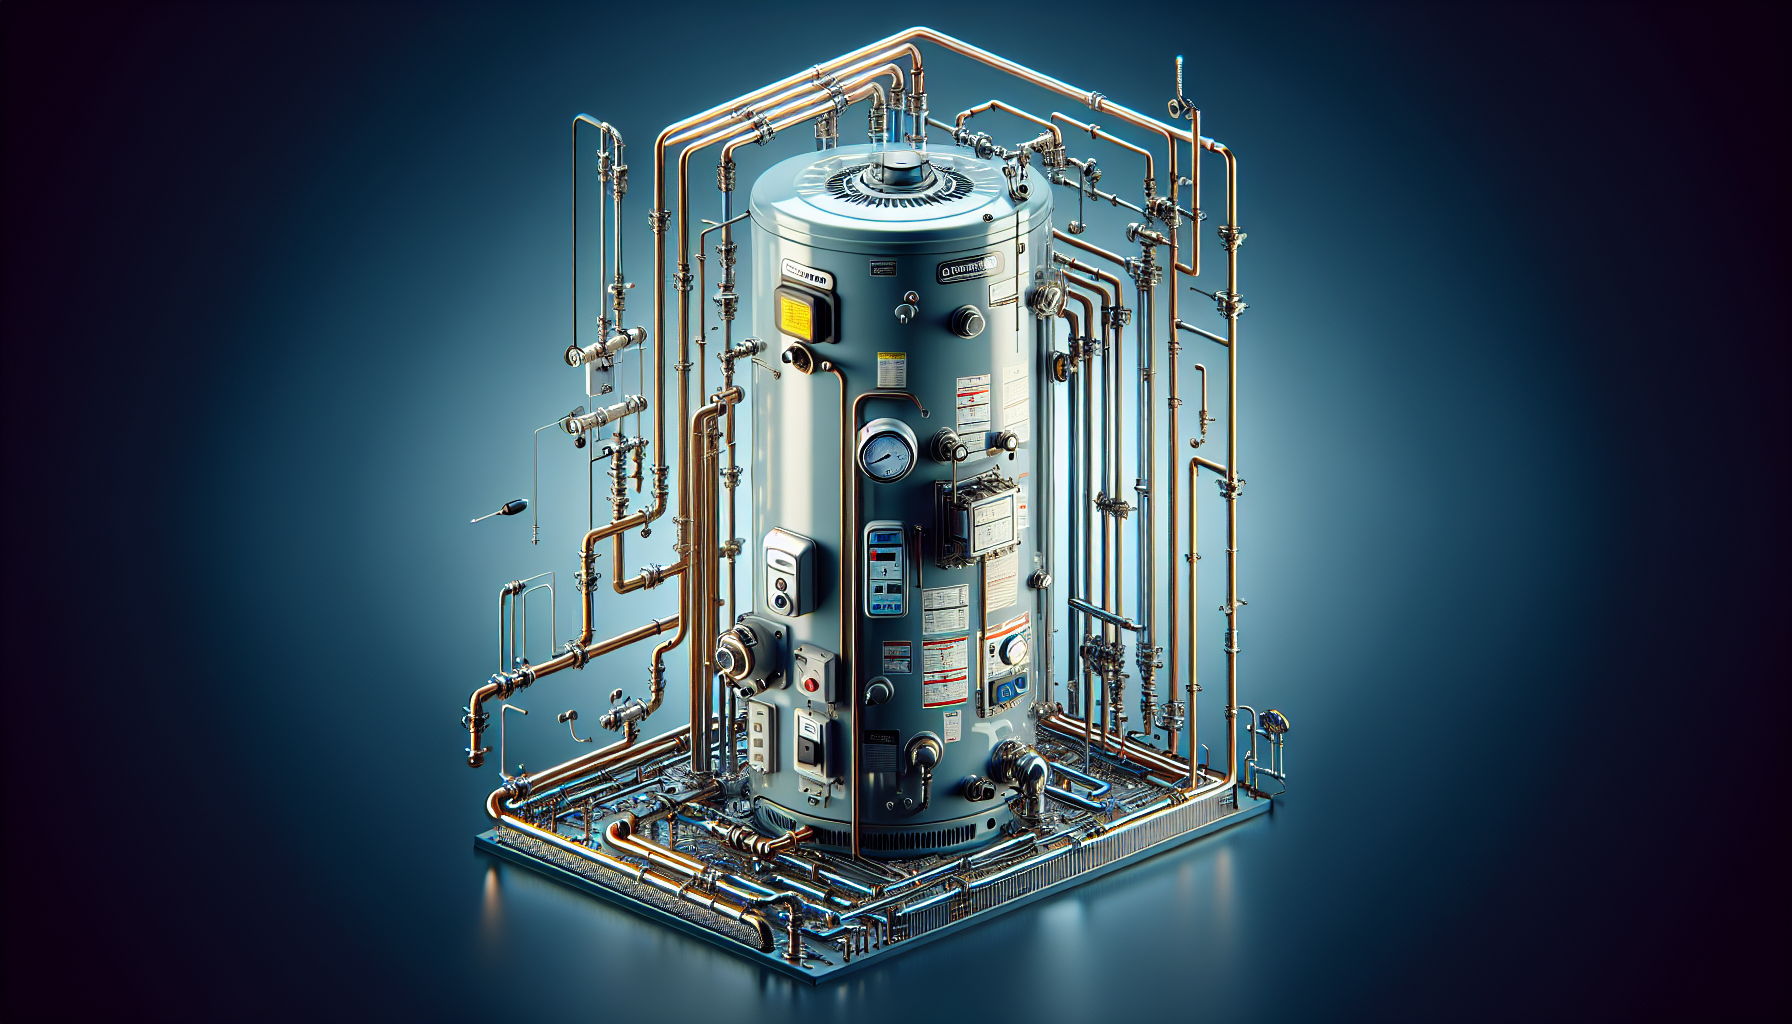
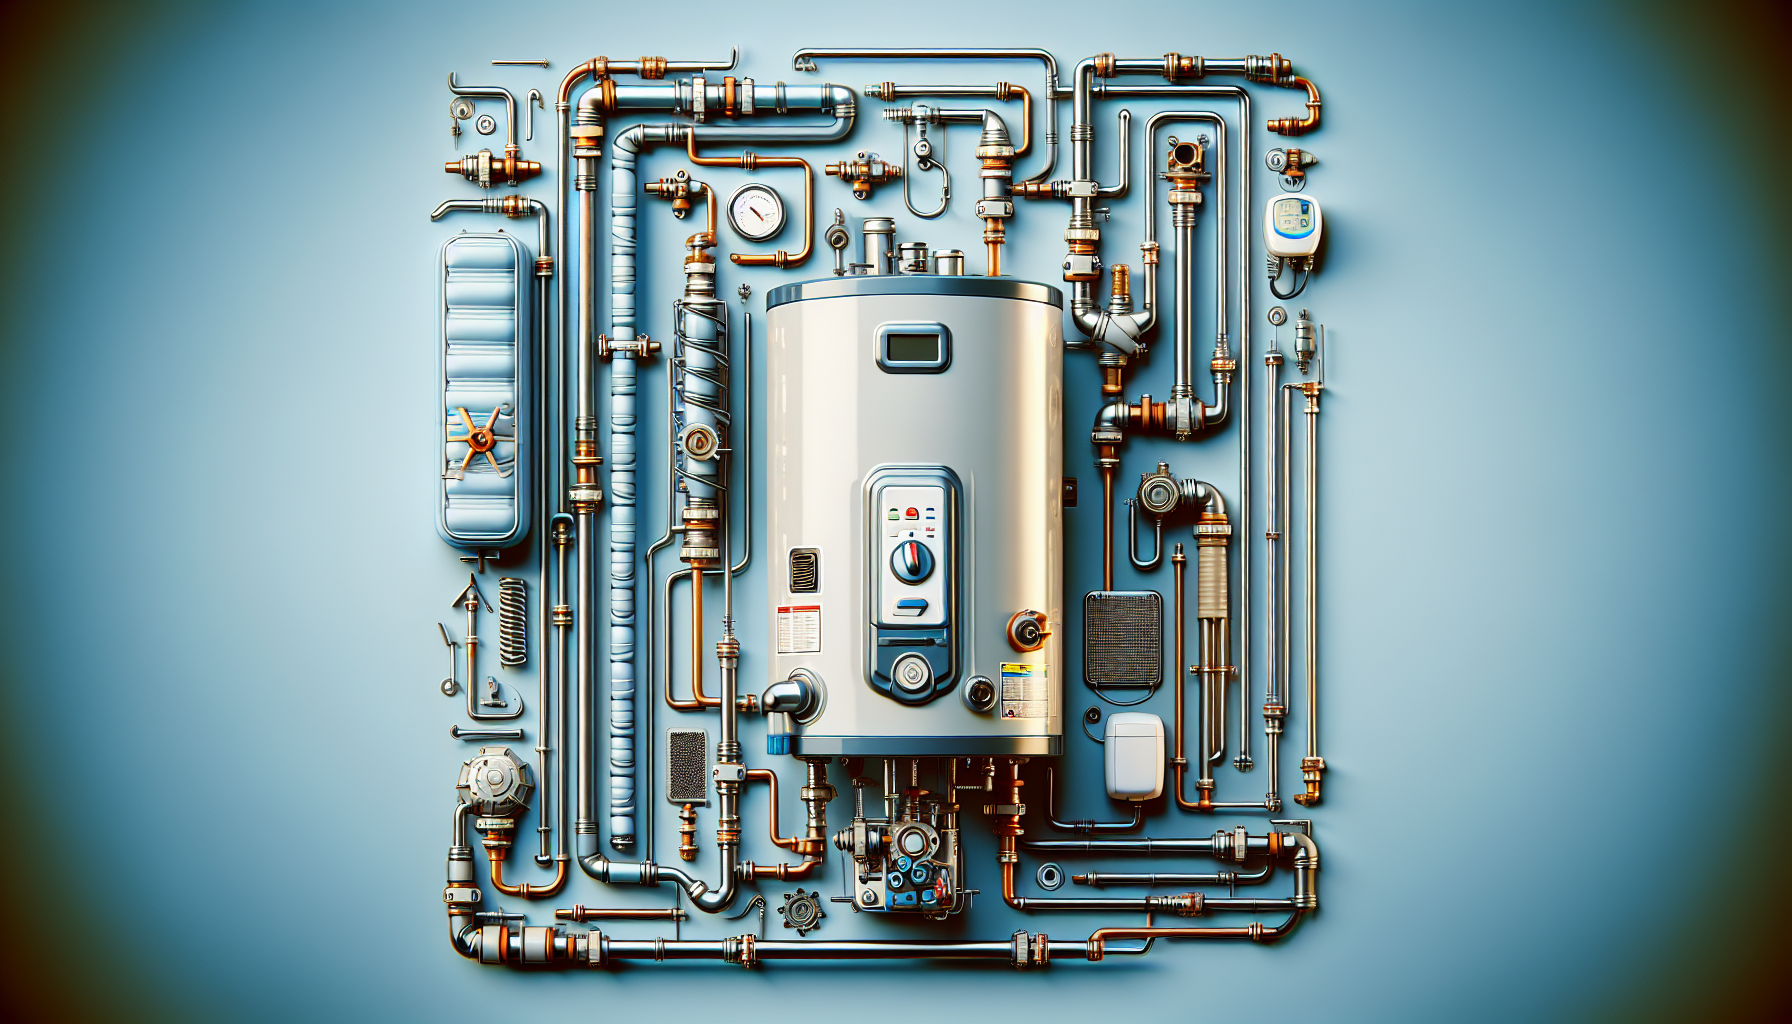
You don’t have to be an expert plumber to keep your water heater running smoothly and efficiently. In this article, we will share some simple and practical tips to help you maintain your water heater and ensure its efficiency. From checking for leaks and flushing the tank to adjusting the temperature and insulating the pipes, these tips will not only extend the lifespan of your water heater but also save you energy and money. So, let’s dive in and discover how you can keep your water heater in top shape.
Importance of Regular Water Heater Maintenance
Regular water heater maintenance is crucial for several reasons. First and foremost, it helps extend the lifespan of the water heater. By properly maintaining your water heater, you can ensure that it operates at its optimal performance for many years to come. This not only saves you money in the long run by avoiding premature replacements but also ensures that you have hot water readily available whenever you need it.
Another important reason to regularly maintain your water heater is to improve energy efficiency. Over time, sediment and mineral buildup can accumulate in the tank, causing the heater to work harder to heat the water. By flushing the tank and getting rid of this buildup, you can enhance the heater’s energy efficiency, which translates to lower energy bills.
Regular maintenance also helps you avoid costly repairs. By regularly inspecting and maintaining your water heater, you can identify and address any potential issues before they turn into major problems. This proactive approach can save you from expensive repairs or even the need for a complete replacement.
Lastly, regular maintenance ensures the safe operation of your water heater. Faulty or neglected water heaters can pose safety risks, such as the potential for leaks, gas leaks in the case of gas-powered heaters, or overheating. By conducting regular inspections and maintenance tasks, you can minimize these risks and ensure the safe functioning of your water heater.
Signs That Your Water Heater Needs Maintenance
It’s important to be aware of the signs that indicate your water heater is due for maintenance. By catching these signs early on, you can prevent further damage and address the issues promptly. Here are some common signs to watch out for:
-
Fluctuating water temperature: If you notice that your hot water temperature is inconsistent, going from hot to cold or vice versa, it may be a sign of sediment buildup in the tank or a faulty thermostat.
-
Rusty or discolored water: When rust or sediment starts to accumulate in your water heater, it can cause the water to become discolored. If you notice rusty or discolored water coming out of your faucets, it’s a clear indication that your water heater needs attention.
-
Unusual noises: If your water heater suddenly starts making banging, popping, or rumbling noises, it could indicate sediment buildup in the tank. These sounds are caused by the water trying to heat through the sediment, which can reduce the efficiency of the heater.
-
Water leakage: Any signs of water leakage around your water heater should not be ignored. Leaks can be a sign of a faulty valve, a cracked tank, or other issues that need immediate attention.
-
Foul odor: If your hot water has a strange or unpleasant smell, it could mean that bacteria are thriving in your water heater. Regular maintenance can help address this issue and ensure that your water remains clean and odor-free.
If you notice any of these signs, it’s important to schedule a water heater maintenance service as soon as possible to address the underlying issues.

Draining and Flushing the Water Heater Tank
Draining and flushing the water heater tank is an essential maintenance task that should be performed annually to remove sediment buildup and ensure optimal performance. Here’s a step-by-step guide on how to drain and flush your water heater:
-
Turn off the power supply: Before you start any maintenance task on your water heater, make sure to turn off the power supply. For electric water heaters, flip the switch in the circuit breaker, while for gas water heaters, turn off the gas valve.
-
Shut off the water supply: Locate the water supply valve, usually located near the top of the water heater, and turn it off. This will prevent cold water from entering the tank during the flushing process.
-
Attach a hose to the drain valve: Prepare a garden hose long enough to reach an appropriate drainage area outside your home. Attach one end of the hose to the drain valve, located at the bottom of the water heater.
-
Open the drain valve: Place the other end of the hose in a nearby floor drain or outside area where the water can safely drain. Open the drain valve by turning it counterclockwise.
-
Flush the tank until the water runs clear: Allow the water to flush out of the tank completely. To speed up the process, you can open a hot water faucet inside your home to break the vacuum and allow air to enter the tank.
-
Close the drain valve and remove the hose: Once the tank is completely drained, close the drain valve by turning it clockwise. Remove the hose and make sure it is free from any obstructions.
-
Refill the tank: Turn on the water supply valve to allow cold water to fill the tank. Keep the hot water faucet you previously opened running until a steady stream of water flows from it, indicating that all air has been purged from the system.
By following these steps, you can effectively remove sediment buildup from your water heater tank, improving its efficiency and prolonging its lifespan.
Inspecting and Replacing the Anode Rod
The anode rod plays a crucial role in protecting your water heater’s tank from corrosion. Over time, the anode rod can become depleted and may need to be replaced. Here’s how you can inspect and replace your water heater’s anode rod:
-
Locating the anode rod: The anode rod is usually located at the top of the water heater’s tank, often accessed through a hexagonal-shaped head. Look for the hex head on the top of the heater or consult your water heater’s manual for specific instructions.
-
Checking the condition of the anode rod: Use a wrench to loosen the hex head and remove the anode rod from the tank. Inspect the rod for signs of corrosion or deterioration. If the rod is heavily corroded or less than 1/2 inch thick, it’s time to replace it.
-
Removing the old anode rod: If the anode rod needs replacement, use the wrench to unscrew it from the tank. Be cautious as it may be difficult to remove due to corrosion. Applying a penetrating oil to the threads can help loosen it.
-
Installing a new anode rod: Purchase a new anode rod that is compatible with your water heater. Apply plumber’s tape to the threads of the new rod to ensure a watertight seal. Insert the rod into the tank and tighten it securely using the wrench.
It’s important to note that the frequency of anode rod replacement may vary depending on the water quality in your area. If your water has a high mineral content, you may need to replace the anode rod more frequently to maintain the efficiency and longevity of your water heater.

Checking and Adjusting the Temperature
The temperature setting of your water heater is another crucial aspect to consider for both energy efficiency and safety. Here’s how you can check and adjust the temperature of your water heater:
-
Locate the temperature dial: The temperature dial is typically located on the front or side of the water heater. It may be covered by a plastic or metal panel that can be easily removed.
-
Check the recommended temperature setting: The recommended temperature setting for most households is around 120 degrees Fahrenheit (49 degrees Celsius). This temperature provides comfortable hot water while minimizing the risk of scalding and promoting energy efficiency.
-
Adjust the temperature if necessary: If the temperature is set higher than the recommended level, use a flathead screwdriver to lower it to the desired temperature. Be sure to turn the screwdriver counterclockwise to decrease the temperature.
By setting the temperature at an appropriate level, you can prevent energy waste and reduce the risk of accidental scalding, especially for households with young children or vulnerable individuals.
Insulating the Water Heater and Pipes
Insulating your water heater and pipes can significantly improve energy efficiency and reduce heat loss. Here’s how you can insulate your water heater and pipes:
-
Wrap the water heater with an insulating blanket: Purchase an insulation blanket designed for water heaters, typically made of fiberglass or other insulating materials. Carefully follow the manufacturer’s instructions to wrap the blanket around the water heater, covering it completely. Make sure to leave the controls, pipes, and air intake vents exposed.
-
Insulate hot water pipes: Insulate the hot water pipes connected to your water heater using pipe insulation sleeves or foam pipe covers. Measure the dimensions of the pipes and cut the insulation material to fit. Secure the insulation in place with tape or zip ties.
-
Seal any air leaks in the vicinity of the water heater: Inspect the area surrounding your water heater for any air leaks, especially near pipes, vents, or electrical conduits. Use caulk or foam sealant to seal any gaps or cracks and prevent heat loss.
By properly insulating your water heater and pipes, you can minimize heat loss, reduce energy consumption, and maintain hot water temperatures for longer periods, ultimately leading to cost savings and improved efficiency.
Checking and Cleaning the Pressure Relief Valve
The pressure relief valve is a crucial safety feature of your water heater, designed to prevent excessive pressure buildup inside the tank. It’s important to regularly check and clean this valve to ensure its proper functionality. Here’s how you can do it:
-
Locate the pressure relief valve: The pressure relief valve is usually located on the top or side of the water heater. It is a metal valve with a lever or a spring-loaded handle.
-
Inspect the valve for leaks: Visually inspect the pressure relief valve for any signs of leakage or dripping water. A leaking valve may indicate high pressure or a faulty valve that needs to be replaced.
-
Test the valve’s functionality: Carefully lift the lever or handle of the pressure relief valve. You should see a rush of water flowing into the discharge pipe. Release the lever, and the flow should stop. If the valve doesn’t release water or if it continues to drip after releasing the lever, it may need to be replaced.
-
Clean the valve if necessary: If the valve is not leaking or malfunctioning, it’s still a good practice to clean it to remove any potential debris or sediment that could affect its performance. To clean the valve, turn off the power supply and shut off the water supply to the heater. Attach a bucket to the discharge pipe and slowly lift the lever to release some water and flush out any debris. Repeat this process a few times until the water runs clear.
Checking and cleaning the pressure relief valve on a regular basis ensures that it operates correctly, preventing excessive pressure buildup and potential damage to the water heater.
Checking for Leaks and Repairing
Monitoring your water heater for any signs of leakage is an essential part of regular maintenance. If you notice any signs of water leakage, it’s important to take immediate action to identify and address the issue. Here’s what you can do:
-
Visually inspect for any signs of leakage: Regularly check the area surrounding your water heater for any signs of water stains, dampness, or pooling water. Pay close attention to the connections, valves, and the base of the tank.
-
Identify the source of the leak: If you notice any signs of leakage, try to identify the source. It could be a faulty valve, a loose water connection, a cracked tank, or a damaged seal. Carefully examine each possible source and take note of any issues you discover.
-
Tighten loose connections: If the leak is coming from a loose water connection, use an adjustable wrench to tighten the fittings. Be careful not to overtighten, as this could cause further damage.
-
Replace faulty components or seals: If the leak persists or if you discover a cracked tank or a faulty valve, it’s best to consult a professional plumber or contact the manufacturer for guidance. They will be able to recommend the necessary repairs or replacements to ensure the safe and efficient operation of your water heater.
Regularly checking for leaks and addressing them promptly can prevent further damage and avoid more costly repairs in the future. Additionally, fixing leaks can help conserve water and reduce the risk of water damage to your property.
Regular Water Heater Maintenance Schedule
To ensure that your water heater stays in optimal condition, it’s important to follow a regular maintenance schedule. Here are some suggested tasks to perform on a monthly, bi-annual, and annual basis:
Monthly tasks:
- Check for any signs of leakage, especially around valves and connections.
- Inspect the pressure relief valve for leaks and proper functionality.
- Observe the water temperature for any sudden fluctuations.
- Listen for any unusual noises during the water heater operation.
Bi-annual tasks:
- Inspect and clean the burner and combustion chamber (for gas-powered water heaters) or electric heating elements (for electric water heaters).
- Check and clean the pilot and main burner assembly (for gas-powered water heaters).
- Test the thermostat and adjust the temperature if necessary.
- Inspect and, if needed, replace the anode rod.
Annual tasks:
- Drain and flush the water heater tank to remove sediment buildup.
- Inspect and, if necessary, replace the pressure relief valve.
- Inspect the water heater’s venting system for any signs of blockage or damage.
By following this maintenance schedule, you can ensure that your water heater remains in good condition and functions efficiently throughout its lifespan.
Benefits of Energy Efficiency in Water Heaters
Optimizing energy efficiency in your water heater can bring several benefits, both for your wallet and the environment. Here are some key advantages of having an energy-efficient water heater:
-
Reduce energy consumption and utility bills: Energy-efficient water heaters consume less energy, allowing you to save money on your energy bills. By upgrading to a more efficient model or implementing energy-saving practices, such as insulating the water heater and adjusting the temperature, you can significantly reduce your energy costs.
-
Conserve natural resources: Water heaters that operate efficiently not only save energy but also conserve natural resources. By using less energy, you reduce the demand for fossil fuels, helping to conserve limited natural resources and reducing greenhouse gas emissions that contribute to climate change.
-
Contribute to environmental sustainability: By embracing energy efficiency in your water heater, you become a part of the broader movement towards environmental sustainability. Energy-efficient appliances and practices help reduce the overall carbon footprint and promote a cleaner and healthier planet for future generations.
Implementing energy-efficient measures in your water heater is a win-win situation, benefiting both your personal finances and the environment. By taking steps to enhance energy efficiency, you can make a meaningful contribution to a more sustainable future.
In summary, regular water heater maintenance is essential for extending its lifespan, improving energy efficiency, avoiding costly repairs, and ensuring safe operation. By being aware of the signs that indicate the need for maintenance, such as fluctuating water temperature, rusty water, unusual noises, leaks, and foul odors, you can promptly address any issues that arise. Performing regular maintenance tasks, such as draining and flushing the tank, inspecting and replacing the anode rod, checking and adjusting the temperature, insulating the water heater and pipes, and cleaning the pressure relief valve, helps maintain optimal performance. Additionally, regularly checking for leaks and performing necessary repairs ensures the efficient and safe operation of the water heater. By following a regular maintenance schedule and embracing energy efficiency in your water heater, you can enjoy cost savings, conserve natural resources, and contribute to environmental sustainability.

