Are you tired of looking at outdated bathroom fixtures? Want to spruce up your bathroom without breaking the bank? Look no further! Our DIY Guide: Replacing Bathroom Fixtures will give you all the tips and tricks you need to upgrade your bathroom in no time. Whether you’re a seasoned DIY enthusiast or just starting out, this guide will walk you through the process step-by-step, making it easy and fun. From replacing faucets to updating towel racks, you’ll be amazed at the difference new fixtures can make. So grab your tools and get ready to transform your bathroom into a stylish sanctuary!
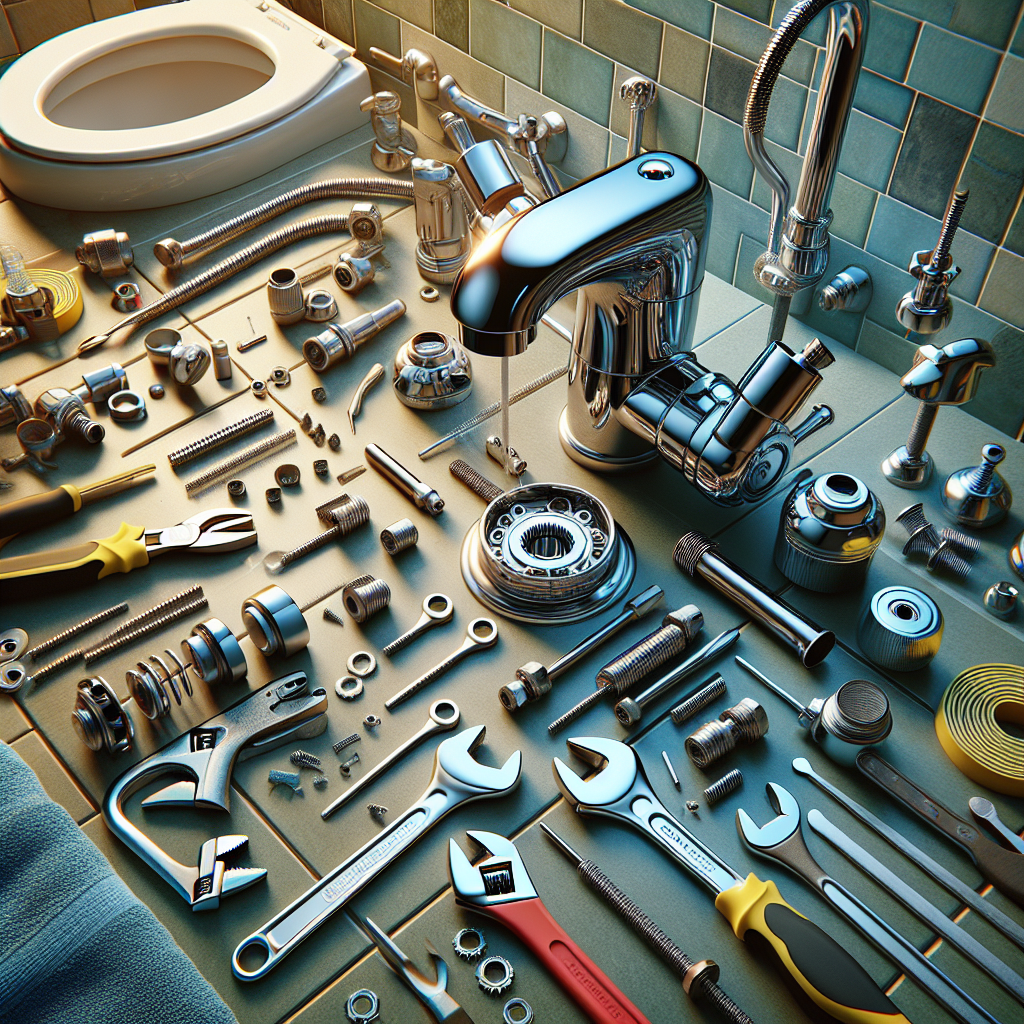
Gather the necessary tools and materials
To successfully replace bathroom fixtures, it is essential to have the right tools and materials on hand. Here’s a list of what you’ll need:
1.1. Tools needed
- Adjustable wrench
- Screwdriver (flathead and Phillips)
- Pipe wrench
- Plumber’s tape
- Caulking gun
- Putty knife
- Safety goggles
- Gloves
- Bucket or container for any water spillage
1.2. Materials needed
- New faucet
- New showerhead
- New toilet
- New sink
- Plumber’s putty
- Caulk
- Replacement pipes or connectors (if necessary)
- Teflon tape
- Cleaning supplies
Turn off the water supply
Before you start removing any fixtures, it’s crucial to turn off the water supply to avoid any flooding or water damage.
2.1. Locate the shutoff valve
The shutoff valve is usually located near the fixture or in the basement. It may be a knob that you can turn clockwise to shut off the water supply. If you can’t locate it, consult your home’s blueprint or contact a plumber for assistance.
2.2. Turn off the water supply
Once you’ve located the shutoff valve, turn it clockwise to shut off the water supply. You may need to use a wrench if the valve is difficult to turn. Make sure to test the fixtures to ensure the water is indeed turned off before proceeding.

Remove the old fixtures
Now that the water supply is off, it’s time to remove the old fixtures. Start with one fixture at a time to avoid getting overwhelmed.
3.1. Remove the faucet
To remove the faucet, start by turning off the hot and cold water valves under the sink. Use an adjustable wrench to disconnect the water supply lines from the faucet. Then, use a screwdriver to remove the mounting nuts and lift the faucet off the sink.
3.2. Remove the showerhead
For the showerhead, use an adjustable wrench or pliers to unscrew it from the shower arm. Be careful not to damage the shower arm in the process. Once the showerhead is removed, clean the shower arm’s threads and apply new plumber’s tape before installing the new showerhead.
3.3. Remove the toilet
Removing a toilet requires some extra steps. Start by turning off the water supply valve, usually located near the base of the toilet. Flush the toilet to drain the water from the tank and bowl. Next, disconnect the water supply line using an adjustable wrench. Remove the nuts securing the toilet to the floor, and carefully lift the toilet off the flange. It’s advisable to have a helper assist you with the heavy lifting.
3.4. Remove the sink
To remove the sink, start by turning off the hot and cold water valves under the sink. Disconnect the water supply lines using an adjustable wrench. Then, remove the sink’s mounting clips, if any, and carefully lift the sink out of its position. Be cautious as sinks can be heavy and fragile.
Prepare the area for installation
Now that the old fixtures are removed, it’s time to prepare the area for the installation of the new fixtures.
4.1. Clean the area
Take this opportunity to thoroughly clean the area where the fixtures were located. Scrub away any dirt, grime, or residue that may have accumulated over time. This will ensure a clean surface for the new fixtures to be installed.
4.2. Repair any damage or leaks
Inspect the area for any damage or leaks that may need repair before installing the new fixtures. This could include fixing any cracks, replacing damaged pipes, or resealing any gaps. It’s important to address these issues before proceeding to avoid further complications down the line.

Install the new fixtures
With the area prepped and ready, it’s time to install the new fixtures and give your bathroom a fresh look.
5.1. Install the faucet
Start by placing a small amount of plumber’s putty around the base of the faucet. Carefully position the faucet on the sink and secure it by tightening the mounting nuts underneath. Connect the water supply lines to the faucet using an adjustable wrench, ensuring they are tightly secured.
5.2. Install the showerhead
Apply plumber’s tape to the shower arm’s threads to create a watertight seal. Screw the new showerhead onto the shower arm, tightening it by hand. Use pliers or an adjustable wrench to give it a final twist, ensuring it is securely attached.
5.3. Install the toilet
Begin by installing a new wax ring onto the flange to create a watertight seal between the toilet and the floor. Carefully lower the toilet onto the flange, aligning the bolts with the toilet’s base. Press down firmly to create a seal, and then tighten the nuts onto the bolts. Reconnect the water supply line, ensuring it is tightly secured. Finally, turn on the water supply and flush the toilet to check for any leaks.
5.4. Install the sink
Position the new sink into place, ensuring it sits evenly on the countertop. Apply a thin line of caulk around the edge of the sink to create a watertight seal between the sink and countertop. Carefully lower the sink, aligning it with the drain opening and the mounting holes. Secure the sink in place by tightening the mounting clips or brackets underneath. Reconnect the water supply lines, and check for any leaks.
Connect the plumbing
Once the new fixtures are installed, it’s time to connect the plumbing to ensure proper functionality.
6.1. Connect the faucet pipes
Connect the water supply lines to the faucet, ensuring they are tightly secured. If needed, use plumber’s tape or Teflon tape to create a watertight seal. Turn on the water supply to check for any leaks. If you notice any leaks, tighten the connections further or apply more tape if necessary.
6.2. Connect the showerhead pipes
Double-check that the showerhead is securely attached to the shower arm. Turn on the water supply and check for any leaks. Adjust the tightness if needed.
6.3. Connect the toilet pipes
Ensure that the water supply line is tightly connected to the toilet’s fill valve. Turn on the water supply and check for any leaks. If necessary, tighten the connection or replace any faulty components.
6.4. Connect the sink pipes
Connect the water supply lines to the faucet and the drainpipe to the sink’s drain. Tighten all connections and check for any leaks. Adjust as necessary.
Test for leaks
Before considering the job complete, it’s important to thoroughly test for any leaks that may have occurred during the installation process.
7.1. Turn on the water supply
Turn on the water supply valves for the faucets, showerhead, toilet, and sink. Allow the water to flow for a few moments and check for any visible leaks. It’s crucial to be thorough in your inspection.
7.2. Check for any leaks
Inspect the area around each fixture for any signs of water leakage. Look for dripping water, wet spots, or water pooling. If you notice any leaks, immediately address the issue by tightening connections or replacing faulty components. Take the time to ensure everything is watertight and secure.
Clean up the area
With the new fixtures successfully installed and no leaks detected, it’s time to clean up the workspace and leave your bathroom looking clean and fresh.
8.1. Remove any debris
Dispose of any packaging materials, old fixtures, or other debris that may have accumulated during the installation process. Use a garbage bag or container to gather and remove the waste, ensuring a tidy area.
8.2. Wipe down surfaces
Take a moment to wipe down the surfaces surrounding the newly installed fixtures. Use a mild cleaner and a clean cloth to remove any dirt or smudges. This final touch will leave your bathroom looking spotless and ready for use.
Perform final checks
Before considering the project complete, it’s essential to perform some final checks to ensure everything is in working order.
9.1. Ensure all fixtures are functioning properly
Test each fixture individually to ensure they are functioning as intended. Turn on the faucets, shower, toilet, and sink to check for proper water flow and functionality. Confirm that hot and cold water are running smoothly and that the toilet flushes properly.
9.2. Check for any visible damage
Inspect each fixture and the surrounding area for any visible damage. Look for cracks, chips, or any signs of wear and tear. If you notice any issues, it’s best to address them promptly before they worsen.
Personalize your new fixtures
Now that your bathroom fixtures are installed and in working order, it’s time to add some personal touches and make your space uniquely yours.
10.1. Add decorative touches
Consider adding decorative elements to enhance the aesthetics of your bathroom. Hang artwork, install shelves for storage or display, or add plants to bring life to the space. Small details like soap dispensers, toothbrush holders, and towels can add personality and style.
10.2. Consider additional accessories
Think about adding accessories that improve functionality and convenience in your bathroom. Install towel bars or hooks for easy access to towels, robe hooks for convenience, or a mirror with built-in lighting for better visibility. These additions can enhance your overall bathroom experience.
Remember, replacing bathroom fixtures can be a rewarding DIY project that allows you to customize your space to your liking. Just make sure to follow the steps carefully, gather the necessary tools and materials, and take your time to ensure everything is installed correctly. Enjoy the process and the satisfaction of a well-executed bathroom upgrade!