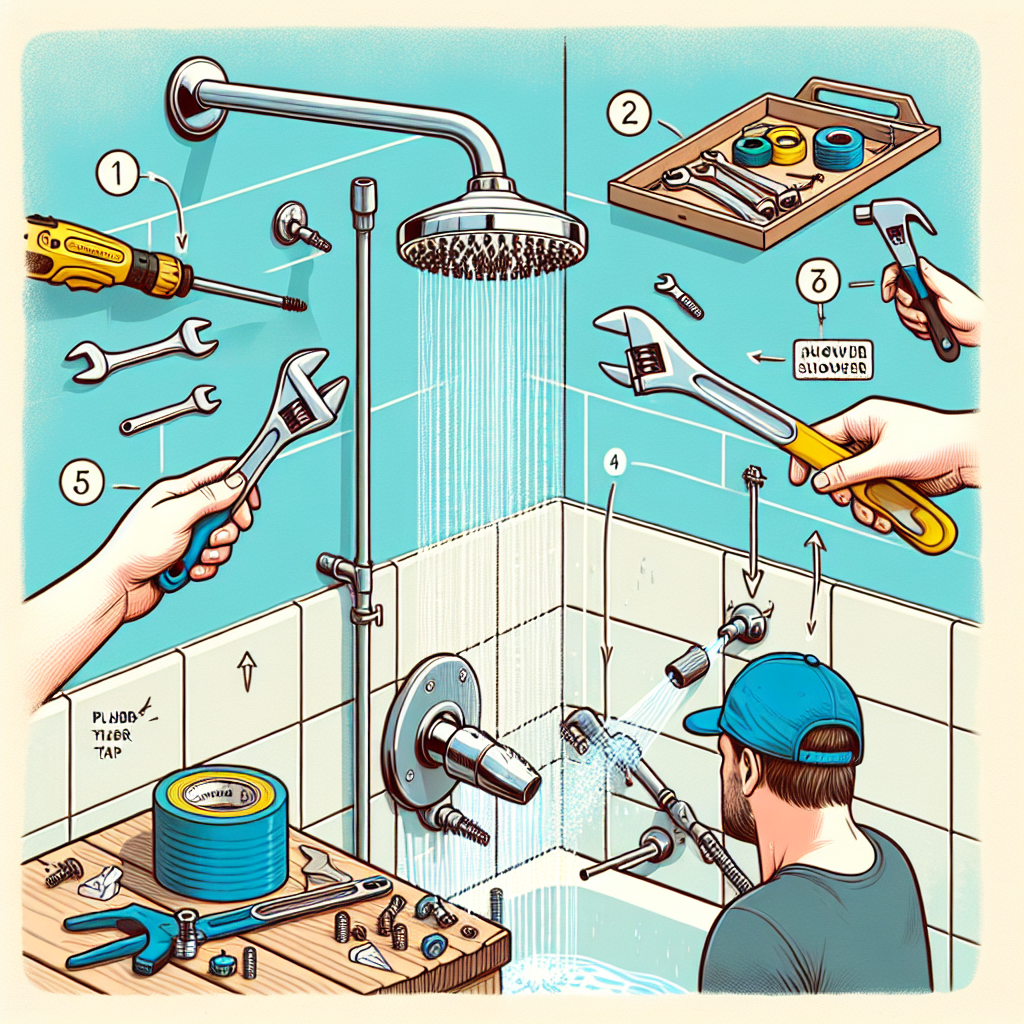
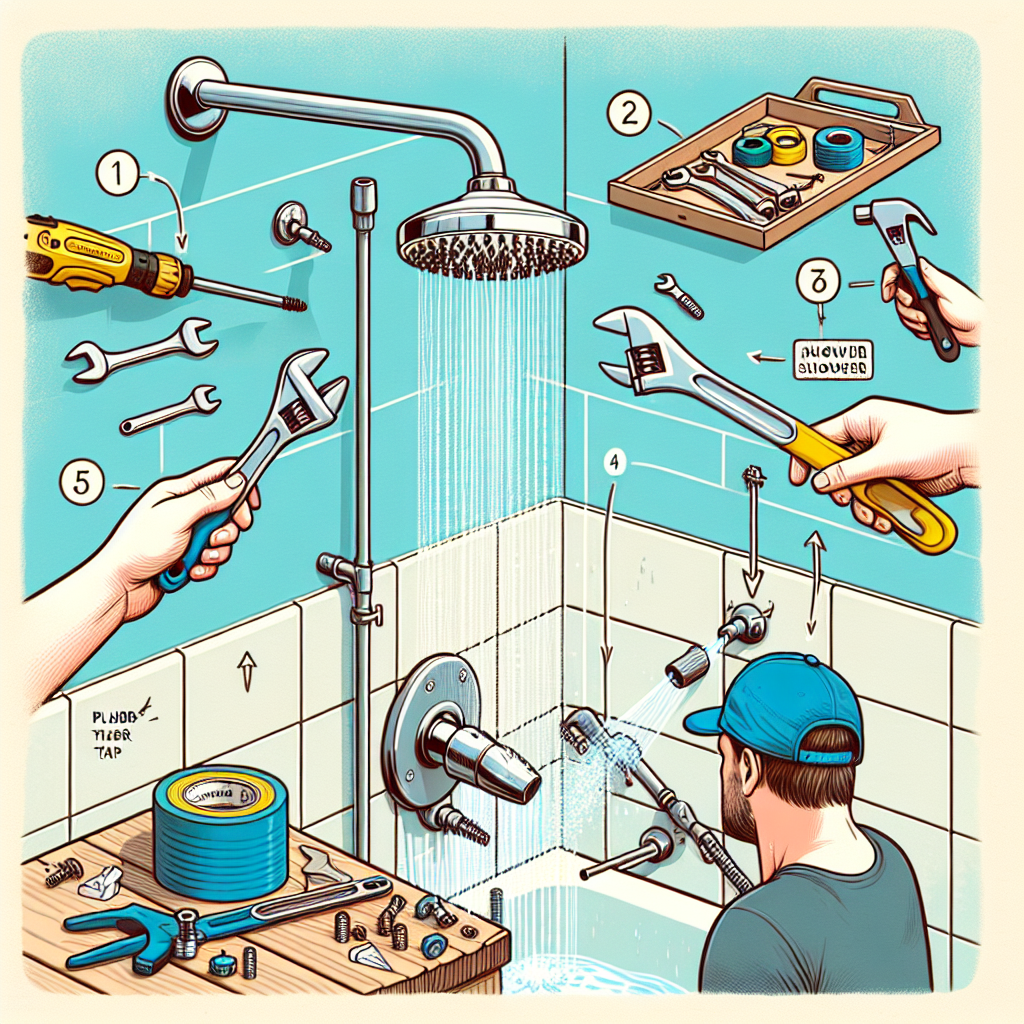
So you’ve finally decided to upgrade your shower head, but now you’re wondering how to go about installing it. Don’t worry, we’ve got you covered! In this article, we will walk you through the simple and easy steps to successfully install a new shower head in your bathroom. From gathering the necessary tools to ensuring a leak-free connection, we will provide you with all the information you need. Get ready to enjoy a rejuvenating shower experience with your brand new shower head!

Gathering Tools and Materials
To start the process of installing a new shower head, you will first need to gather the necessary tools and materials. Having everything prepared beforehand will make the installation process much smoother and efficient. Here is a list of items you will need:
Choosing a new shower head
The first step in the process is selecting a new shower head that meets your preferences and needs. There are various types of shower heads available in the market, including handheld, rain shower, and adjustable ones. Take into consideration factors such as water pressure, spray pattern, and aesthetics when making your decision.
Inspecting the existing shower head
Before removing the old shower head, it is essential to inspect its condition. Check for any signs of damage, leaks, or corrosion. Inspecting the existing shower head will give you an idea of whether it needs to be replaced or if there are any underlying issues that should be addressed.
Gathering necessary tools and materials
Once you have chosen a new shower head and assessed the condition of the existing one, it’s time to gather the tools and materials required for the installation. You will typically need a pair of pliers or a wrench, plumber’s tape, a cloth or rag, and potentially a cleaning solution if the shower arm needs to be cleaned. Having these items on hand will make the installation process much more convenient and efficient.
Preparing the Work Area
Before diving into the installation process, it is crucial to prepare the work area properly. This step involves removing any obstructions, turning off the water supply, and protecting bathroom fixtures.
Removing any obstructions
Ensure that the area around your shower head is clear and free of any objects or obstructions. This will make it easier for you to access the shower arm and perform the installation without any hindrances.
Turning off the water supply
To avoid any water spillage or accidents during the installation process, it is important to turn off the water supply to the shower. Locate the shut-off valve, which is usually near the shower or in the main water line of your house, and turn it off. This will prevent water from flowing while you work.
Protecting bathroom fixtures
While working on the shower head installation, it is essential to protect other bathroom fixtures such as faucets, towels, or any delicate surfaces. Cover them with a cloth or towel to avoid any damage or scratches during the installation process.
Removing the Old Shower Head
Now that you have prepared the work area, it is time to remove the old shower head. This step might require some effort, but with the right tools and techniques, it can be done easily.
Loosening the shower arm
Start by using a pair of pliers or a wrench to loosen the connection between the shower arm and the old shower head. Be careful not to apply excessive force to prevent damaging the shower arm itself.
Using a wrench for stubborn shower heads
If the shower head is particularly stubborn and does not loosen easily, you may need to use a wrench for extra leverage. Place the wrench around the base of the shower head and turn it counterclockwise to loosen it. Take caution not to damage the shower arm or any surrounding fixtures.
Cleaning the shower arm
After removing the old shower head, take a moment to clean the shower arm. Use a cloth or rag to wipe away any dirt, debris, or old plumber’s tape that may be present. Cleaning the shower arm will ensure a better connection when installing the new shower head.
Installing the New Shower Head
With the old shower head removed, it is time to install your new shower head. This process involves applying plumber’s tape, screwing on the new shower head, and hand-tightening it securely.
Applying plumber’s tape
Before attaching the new shower head, wrap a few layers of plumber’s tape around the threads of the shower arm. This tape helps create a watertight seal and prevents any leaks from occurring. Be sure to wrap the tape in a clockwise direction to ensure it does not unravel when attaching the shower head.
Screwing on the new shower head
Take the new shower head and carefully align it with the shower arm threads. Slowly screw the shower head onto the arm in a clockwise direction. Continue until it is tight but be cautious not to overtighten, as this can cause damage.
Hand-tightening the shower head
Once the shower head is securely in place, use your hand to further tighten it. Ensure that it is snug and does not wobble. Be cautious not to overtighten, as this could lead to damage or leaks.
Adjusting the Shower Head
After successfully installing the new shower head, it is important to adjust it to your desired settings. This step involves testing the water flow, adjusting the shower head angle, and checking for any potential leaks.
Testing the water flow
Turn on the water supply and check the water flow through the new shower head. Ensure that the water pressure is to your liking and that there are no obstructions or unusual sounds. Adjustments can be made if necessary, either by adjusting the shower head settings or checking the water pressure in your home.
Adjusting the shower head angle
If the shower head angle does not provide the desired water coverage, it can be adjusted. Many shower heads allow you to swivel or tilt them to achieve better positioning. Experiment with different angles until you find the one that suits you best.
Checking for leaks
After adjusting the shower head, carefully inspect the connections for any signs of leaks. Run your hand along the joints and connections and feel for any water leakage. If you notice any leaks, tighten the connections or reapply plumber’s tape as needed to create a watertight seal.
Maintaining the Shower Head
Once installed and adjusted, it is important to maintain your shower head to ensure optimal performance and longevity. Regular cleaning, removing mineral deposits, and replacing worn-out parts are key to keeping your shower head running smoothly.
Regular cleaning
Regularly clean your shower head to prevent the build-up of soap scum, bacteria, and mineral deposits. Use a mild cleaning solution and gently scrub the surface of the shower head. This will not only keep it looking clean but also ensure that the water flow remains unobstructed.
Removing mineral deposits
Over time, mineral deposits from hard water can accumulate on the shower head and affect its performance. To remove these deposits, fill a plastic bag with vinegar and secure it around the shower head using a rubber band. Allow it to soak for a few hours or overnight, then remove the bag and scrub away any remaining residue. This will help restore the water flow and improve the efficiency of your shower head.
Replacing worn-out parts
If you notice any signs of wear and tear, such as leaks or decreased water pressure, it may be necessary to replace certain parts of your shower head. This could include rubber washers, O-rings, or the entire shower head itself. Regularly inspect your shower head to identify any components that may require replacement, and consult the manufacturer’s instructions for guidance.
Troubleshooting
While installing and maintaining a new shower head is generally a straightforward process, there may be some common problems you encounter along the way. Here are a few troubleshooting tips for common issues:
Low water pressure
If you experience low water pressure after installing a new shower head, check for any blockages or obstructions. Remove the shower head and inspect the flow restrictor, a small disk that regulates water flow. It may need to be cleaned or removed to improve water pressure.
Dripping shower head
If your new shower head continues to drip even when turned off, it may indicate a faulty seal. Disassemble the shower head, inspect the washers and O-rings, and replace any worn or damaged components.
Stuck shower head
If you encounter difficulty in removing a shower head, try applying a lubricant or penetrating oil to the connections. Allow it to sit for a while to loosen any corrosion or rust, and then gently use a wrench or pliers to loosen the stuck shower head. Take care not to overexert force to avoid damaging the shower arm.
Alternative Shower Head Installations
Aside from the standard shower head installation, there are various alternative options available, depending on your preferences and needs.
Handheld shower head installation
If you prefer the flexibility of being able to direct the water spray, a handheld shower head may be a suitable choice. Installation typically involves replacing the existing shower head with a handheld option and attaching a hose to the shower arm. Follow the manufacturer’s instructions for a successful installation.
Rain shower head installation
For a luxurious and spa-like experience, a rain shower head can provide a soothing and gentle flow of water. These shower heads are usually installed on the ceiling or directly above the user for an immersive showering experience. Consult a professional plumber for the proper installation of a rain shower head.
Multiple shower head installation
If you desire a more indulgent showering experience, installing multiple shower heads can provide a luxurious and customized experience. This could include a combination of overhead rain shower heads, fixed wall-mounted heads, and handheld shower heads. The installation process may vary depending on the configuration and the plumbing setup in your bathroom. It is advisable to consult a professional plumber for this type of installation.
Hiring a Professional
While installing a new shower head can be a DIY project for many homeowners, there are instances where it is best to seek the assistance of a professional plumber.
When to consider professional help
If you are uncertain about your plumbing skills or lack the necessary tools for the installation, it is advisable to hire a professional. Additionally, if you encounter unexpected complications during the installation process or have concerns about your home’s plumbing system, it is best to consult a professional plumber to ensure the job is done safely and correctly.
Finding a qualified plumber
When looking for a qualified plumber, consider seeking recommendations from friends, family, or trusted professionals in your community. Verify their credentials, licenses, and insurance to ensure they are qualified and reputable. Request multiple quotes from different plumbers to compare prices and services before making a final decision.
Negotiating the installation cost
When hiring a professional plumber for the installation, it is worth discussing the installation cost upfront. Ask for a detailed estimate that includes the cost of labor, materials, and any additional charges. Negotiate the terms and ensure you have a clear understanding of what is included in the price to avoid any surprises.
Conclusion
Installing a new shower head is a relatively simple and rewarding task that can enhance your showering experience. By following the outlined steps and taking proper care of your shower head, you can enjoy optimal water flow, adjustability, and functionality. Whether you choose a standard shower head, a handheld option, or a luxurious rain shower head, the process remains similar. Remember to gather the necessary tools, prepare the work area, and take your time during installation. If needed, don’t hesitate to seek the assistance of a professional plumber to ensure a successful and efficient installation. With a new shower head in place, you can enjoy refreshing showers for years to come.

