If you’re considering tackling DIY pipe repairs, there are a few important things you should know beforehand. From understanding the potential risks involved to knowing when it’s best to call in the professionals, this article will provide you with valuable insights to ensure a successful and safe repair. So, before you grab your tools and start tinkering, take a few moments to discover what you need to know for a successful DIY pipe repair.
Types of Pipes
When it comes to pipe repairs, it’s essential to understand the different types of pipes you may encounter. The three most common types include PVC pipes, copper pipes, and galvanized pipes.
PVC Pipes
PVC pipes, or polyvinyl chloride pipes, are widely used in residential plumbing systems. They are known for their affordability, durability, and ease of installation. PVC pipes are lightweight and resistant to corrosion, making them an excellent choice for both outdoor and indoor plumbing.
Copper Pipes
Copper pipes have been the go-to option for plumbing systems for many years. They are known for their longevity and resistance to high temperatures. Copper pipes require soldering or compression fittings for installation, making them a popular choice in residential and commercial buildings.
Galvanized Pipes
Galvanized pipes are steel pipes coated with a layer of zinc to protect against corrosion. They were commonly used in older homes, but have been largely phased out due to their tendency to rust and corrode over time. If you have an older home with galvanized pipes, it may be worth considering replacing them with a more modern pipe material.
Common Pipe Problems
Pipe problems can occur unexpectedly and disrupt the smooth functioning of your plumbing system. It’s crucial to be aware of common pipe problems and how to address them promptly.
Leaking Pipes
Leaking pipes are one of the most common plumbing issues homeowners face. They can lead to water damage, mold growth, and increased water bills if not resolved promptly. Leaks can occur due to various reasons such as corroded pipes, loose fittings, or excessive water pressure.
Burst Pipes
A burst pipe is a plumbing emergency that requires immediate attention. It usually happens due to freezing temperatures or excessive water pressure. When a pipe bursts, it can cause extensive water damage, leading to costly repairs. Identifying the location of the burst and addressing it promptly is crucial to prevent further damage.
Clogged Pipes
Clogged pipes can cause slow drainage or complete blockage in your plumbing system. They are often caused by the buildup of debris, hair, grease, or other foreign objects in the pipes. Clogs can lead to backups, foul odors, and even burst pipes if not resolved promptly.
Tools Required for DIY Pipe Repairs
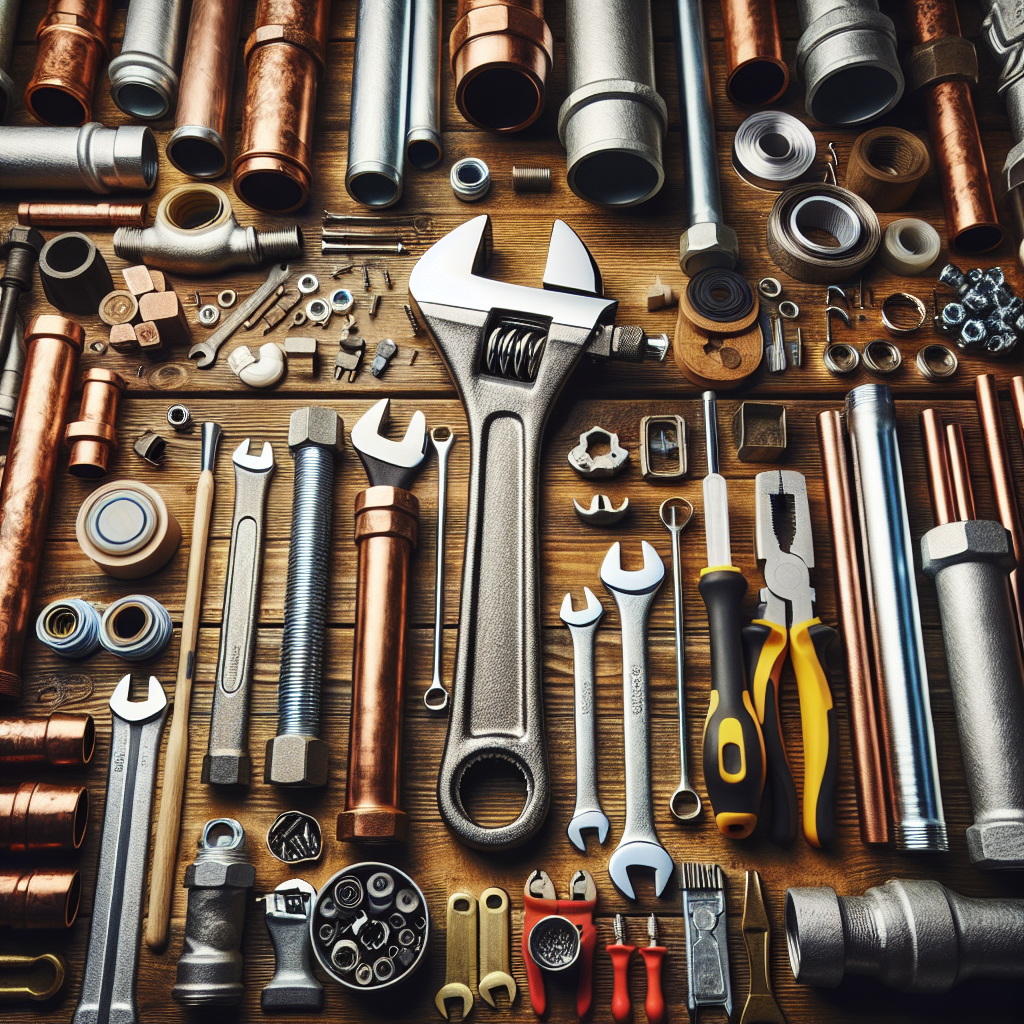
Before attempting any DIY pipe repairs, it’s important to have the necessary tools on hand. Here are a few essential tools you may need:
Pipe Cutter
A pipe cutter is a handy tool that allows you to cut through pipes cleanly and precisely. It is especially useful when replacing damaged sections of pipes. Ensure you choose the right size pipe cutter that matches the pipes you are working with.
Plumber’s Tape
Also known as Teflon tape, plumber’s tape is used to create a watertight seal on threaded pipe fittings. It helps prevent leaks by sealing the gaps between the threads. It’s easy to use and a must-have for any DIY plumbing repair kit.
Wrenches
Wrenches are essential for loosening and tightening various pipe fittings. Adjustable wrenches are versatile and can be used to grip pipes and fittings of different sizes. A pipe wrench, on the other hand, is specifically designed to grip and twist pipes.

Safety Precautions
Before you start any DIY pipe repairs, it’s crucial to prioritize safety. Here are a few safety precautions to keep in mind:
Ensure Water Supply is Off
Before working on any pipes, always turn off the water supply to the affected area. This will prevent any accidental water flow and minimize the risk of flooding or further damage.
Wear Protective Gear
Protective gear, such as gloves, safety goggles, and sturdy footwear, should be worn to protect yourself from sharp edges, chemicals, and any potential hazards. Additionally, wearing protective gear can help prevent burns and injuries while working with hot pipes or tools.
Be Cautious of Hot Pipes
If you are dealing with hot water pipes, be cautious of their temperature. Hot pipes can cause severe burns if touched or mishandled. Allow the pipes to cool down before attempting any repairs, and always use appropriate insulation or gloves when necessary.
Understanding Pipe Fittings
Pipe fittings play a crucial role in connecting pipes and ensuring proper water flow. Here are three common types of pipe fittings you should be familiar with:
Soldering
Soldering is a common method used to connect copper pipes. It involves heating the joint with a torch and melting solder to create a watertight seal. Soldered joints are durable and reliable when done correctly.
Compression Fittings
Compression fittings are commonly used for connecting pipes made of different materials or connecting plastic pipes. They consist of a compression ring, a nut, and a sleeve. As you tighten the nut, it compresses the ring against the pipe, creating a tight seal.
Threaded Fittings
Threaded fittings are used on pipes with threaded ends. They are typically made of metal and can be screwed together to create a secure connection. Plumber’s tape is often used to ensure a watertight seal on threaded fittings.
Identifying the Cause of the Problem
Before you start any repairs, it’s important to identify the cause of the problem. Here are a few steps you can take to pinpoint the root cause:
Inspecting Water Pressure
Low water pressure can indicate a problem within your plumbing system. Check all faucets and fixtures to determine if the low water pressure is localized or affects the entire house. If it’s localized, the issue may be with a specific pipe or fixture.
Checking for Leaks
Inspect your plumbing system for any visible leaks. Look for signs of water stains, dampness, or discoloration on walls, ceilings, and floors. These can indicate a hidden leak behind the surface, requiring immediate attention.
Investigating Water Discoloration
If you notice discolored water coming out of your faucets, it could indicate rusty or corroded pipes. Discolored water can also be a sign of contamination. Investigate the cause of the discoloration to determine if it’s a pipe-related issue or a problem with your water supply.
Repairing Leaking Pipes
Leaking pipes can cause significant damage if not addressed promptly. Here are the steps to repair leaking pipes:
Locating the Leak
Locating the source of the leak is crucial for effective repairs. Inspect the affected area, and if necessary, use a flashlight to examine pipes and fittings for any signs of moisture. Once you locate the leak, mark the area for easy identification.
Using Pipe Sealants
Pipe sealants, such as pipe dope or plumber’s putty, can be applied to small leaks or loose fittings. These sealants create a waterproof barrier, preventing further water leakage. Follow the product instructions carefully and allow sufficient time for the sealant to set before turning on the water supply.
Replacing Damaged Sections
If the leak is significant or the pipe is corroded or damaged, replacing the damaged section may be necessary. Use a pipe cutter to remove the damaged section, and then replace it with a new pipe or connector. Follow proper installation techniques, such as soldering or using compression fittings, to ensure a secure and watertight connection.
Fixing Burst Pipes
Dealing with a burst pipe requires immediate action to prevent further damage. Here’s what you should do:
Turning Off Water Supply
The first step when dealing with a burst pipe is to turn off the water supply. Locate the main shut-off valve and close it to stop the water flow. This will prevent any additional water from causing further damage or flooding.
Thawing Frozen Pipes
If the burst pipe is a result of freezing temperatures, it’s important to thaw it before repairs can be made. Use a hairdryer, towels soaked in hot water, or a heat lamp to carefully thaw the frozen section of the pipe. Never use an open flame as it can pose a fire hazard.
Repairing or Replacing the Burst Section
Once the pipe is thawed and the area is dry, you can proceed with repairing or replacing the burst section. Similar to repairing leaking pipes, use a pipe cutter to remove the damaged portion, and then replace it with new pipe or fittings. Remember to follow proper installation techniques for a secure and lasting repair.
Dealing with Clogged Pipes
Clogged pipes can be a nuisance, affecting the functionality of your plumbing system. Here are a few methods to deal with clogs:
Using a Plunger
A plunger is a simple and effective tool for clearing minor clogs. It creates suction and pressure to dislodge the blockage. Ensure you use the appropriate plunger for the specific fixture or drain you are unclogging.
Applying Drain Cleaners
Chemical drain cleaners can be used to dissolve organic matter or break down grease buildup in pipes. Follow the product instructions carefully and take safety precautions, such as wearing gloves and ensuring proper ventilation. It’s important to note that some drain cleaners can be harmful to certain types of pipes, so be cautious and choose a product suitable for your plumbing system.
Snaking the Drain
If the clog is stubborn and cannot be cleared with a plunger or drain cleaner, using a plumbing snake or auger may be necessary. Insert the snake into the drain and rotate it to break through the clog. Once the clog is dislodged, flush the drain with hot water to ensure it’s fully cleared.
Knowing Your Limitations
While DIY pipe repairs can be cost-effective, it’s important to know your limitations. Some scenarios are best left to the professionals. Here’s when you should consider calling a professional plumber:
When to Call a Professional
If you are dealing with complex plumbing systems, extensive damage, or specialized pipe materials, it’s wise to consult a professional plumber. They have the expertise, tools, and knowledge to handle complicated repairs and ensure long-lasting solutions.
Handling Complex Pipe Systems
If your plumbing system is complex, with multiple pipes, valves, and fixtures, it can be challenging to identify and fix the issue on your own. A professional plumber can assess the entire system, diagnose the problem accurately, and provide the most appropriate solution.
Knowing Local Plumbing Codes
Plumbing repairs should adhere to local plumbing codes and regulations. If you are unsure about specific requirements or permits, it’s best to consult a professional plumber who is familiar with the local codes and will ensure your repairs meet all necessary standards.
In conclusion, before attempting any DIY pipe repairs, it’s important to be aware of the different types of pipes, common pipe problems, necessary tools, safety precautions, and types of pipe fittings. By understanding these aspects and identifying the cause of the problem, you can successfully repair leaking pipes, fix burst pipes, and deal with clogged pipes. However, it’s crucial to know your limitations and seek professional help for complex or specialized plumbing systems. With the right knowledge, tools, and precautions, you can maintain a functional and reliable plumbing system in your home.

